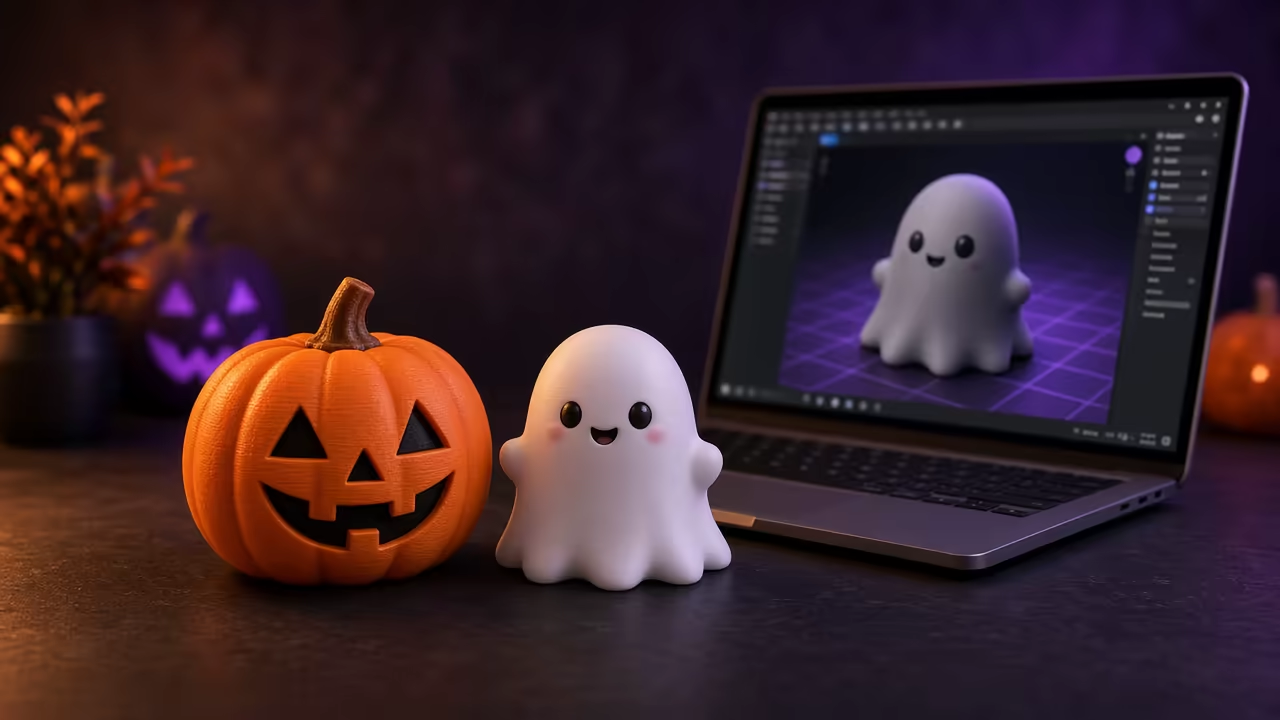
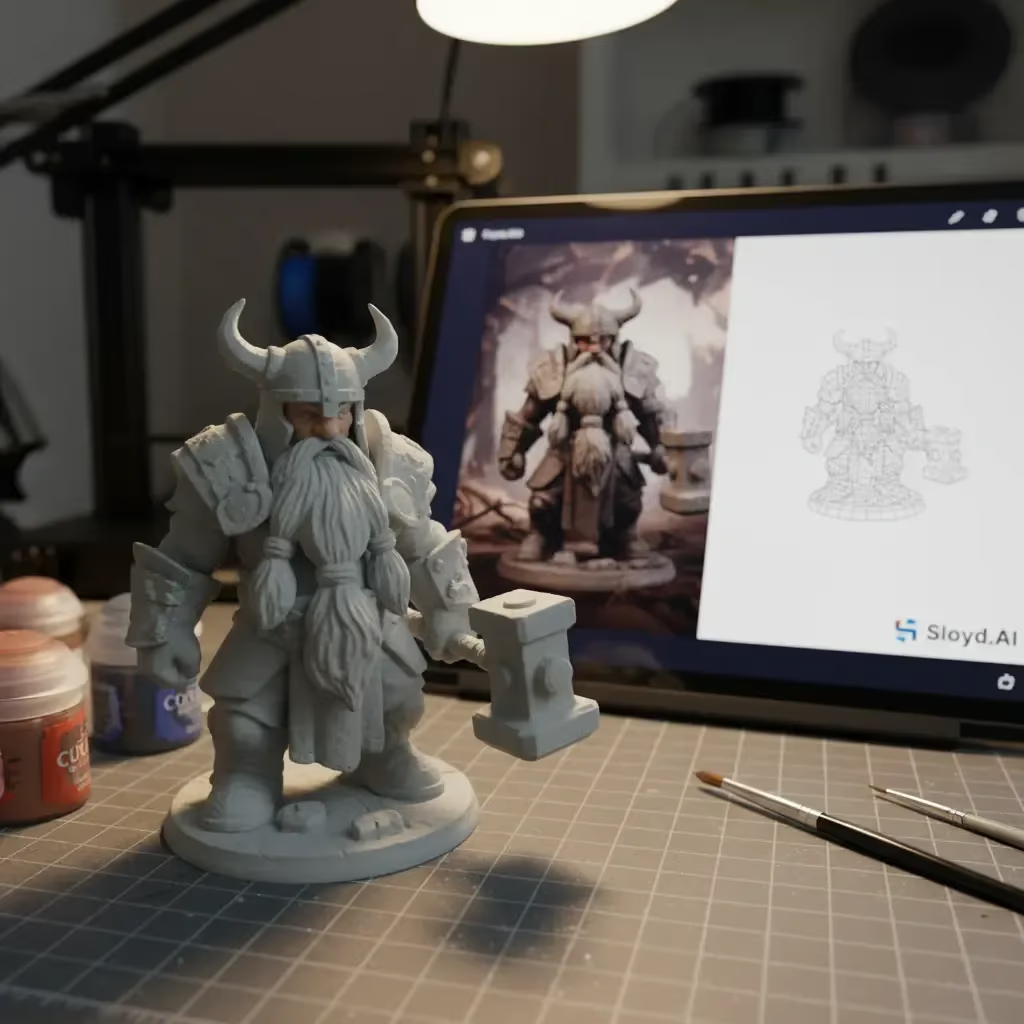
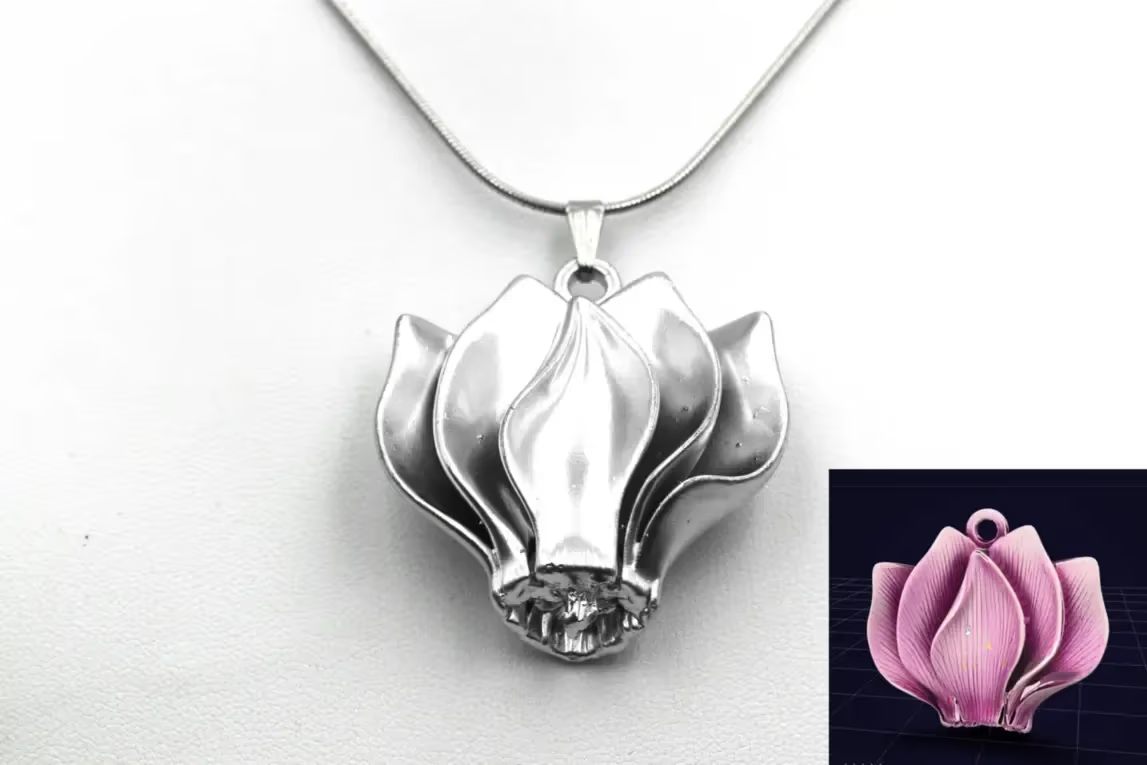
AI Keychain Generator: Turn Any 3D Model into a Keychain
Generate a character, prop or logo with AI, then add a keyring loop, pendant, wall mount or display stand in Sloyd Mounts & Keychains and export one welded STL or 3MF in millimeters, ready for OrcaSlicer, Bambu Studio or any slicer.
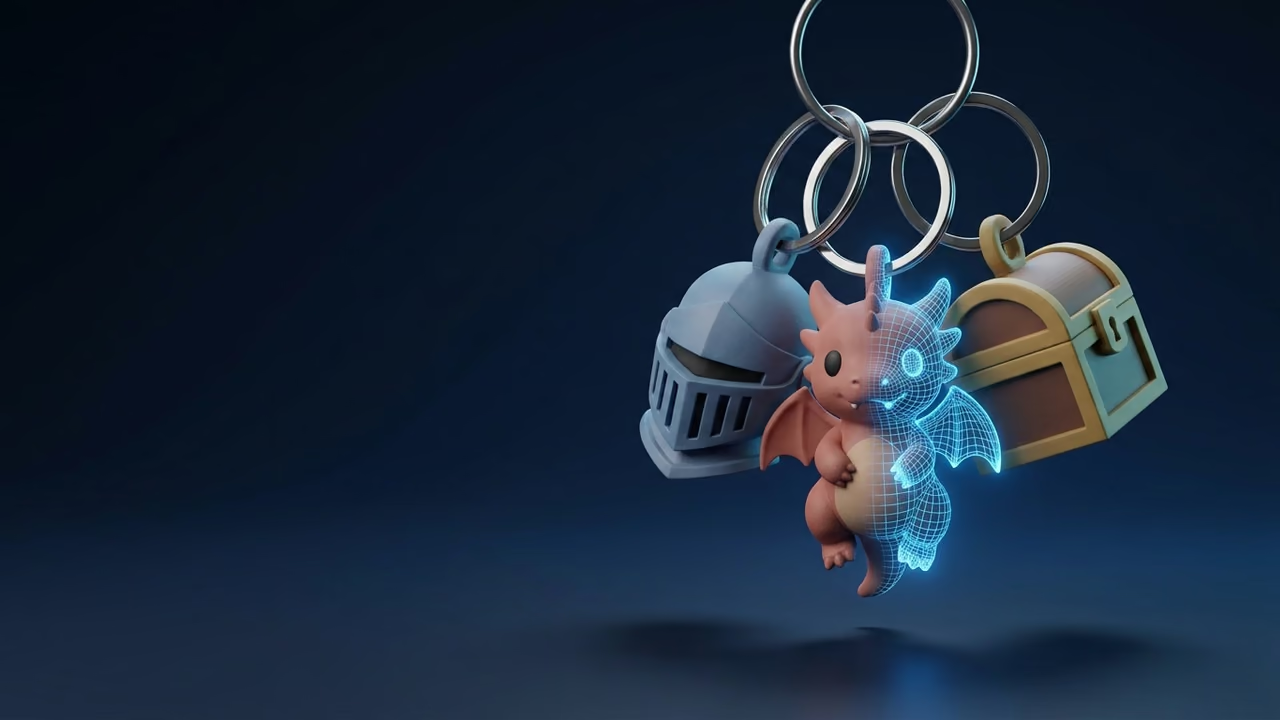
Keychains are a maker-market staple for a reason: they are cheap, quick, personal and they fit in a pocket. The hard part is not the print. It is the design: a model that looks good, a loop that does not snap off, and a file your slicer reads at the right size.
An AI keychain generator closes that gap. You describe a character or upload a photo, get a 3D model back, then add the hardware: a keyring loop, a pendant, a wall mount or a display stand. This guide walks through the full workflow in Sloyd, from idea to print, with printing tips, the mistakes that waste filament, and an honest comparison with MakerWorld's MakerLab, Tinkercad, Thingiverse Customizer and Blender.
What Is an AI Keychain Generator?
An AI keychain generator is a tool that turns a text prompt, an image or an existing 3D model into a printable keychain by generating the shape and attaching a keyring loop sized for a real split ring.
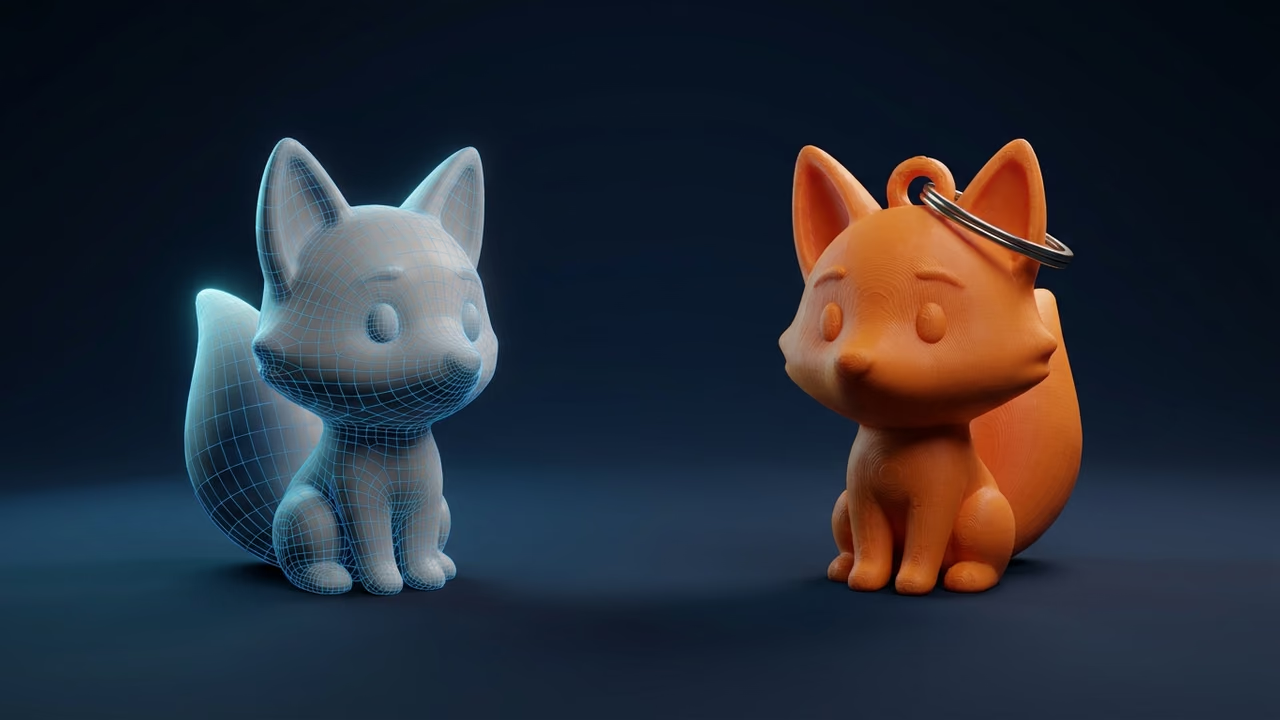
Most keychain tools online start from text or a flat image and extrude it into a 2D-style tag. Sloyd works the other way around: you start from a full 3D model, made with text to 3D, image to 3D or uploaded, and Mounts & Keychains seats it on printable hardware. That means a figurine with a loop on its head, a 3D logo on a wall plaque, or a game prop on a desk stand, not only a nameplate.
What Mounts & Keychains Can Make
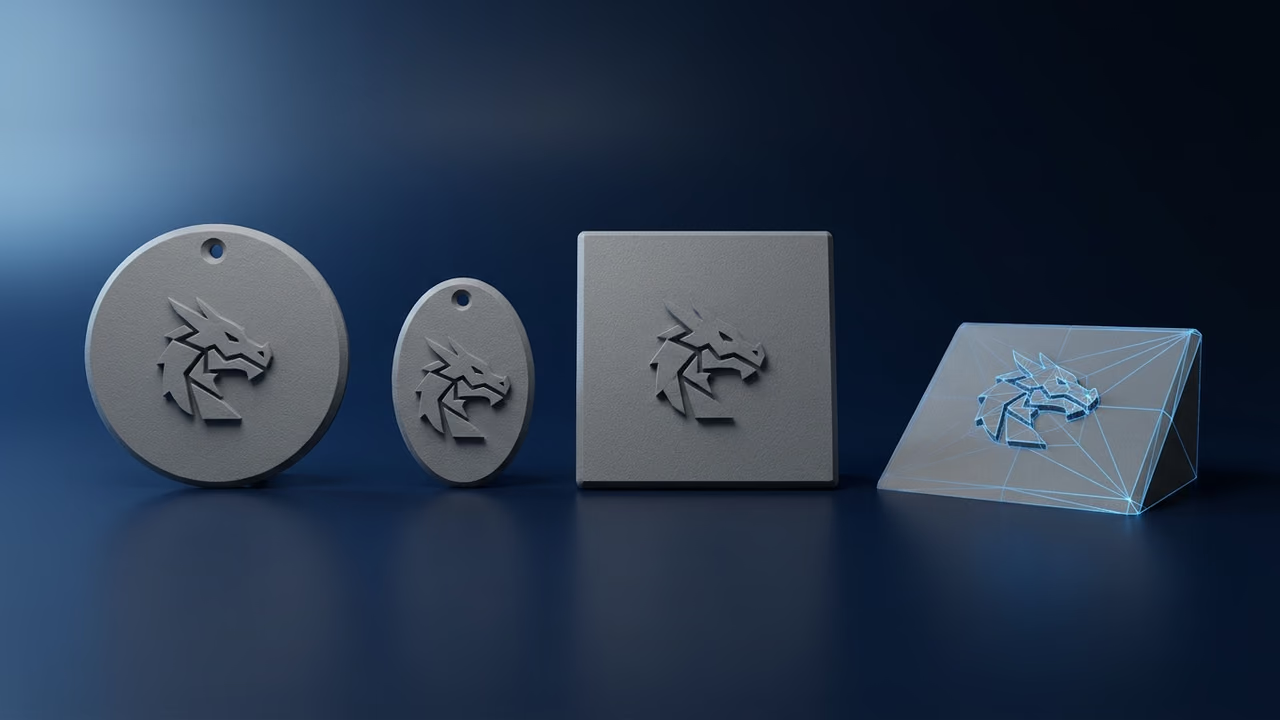
Mounts & Keychains offers nine printable bases in four families: a keychain loop, an oval pendant, three wall mounts and four stands. Each tile shows the base's real footprint, and the export confirms the measured size of the finished piece.
| Base | What it is for | Footprint |
|---|---|---|
| Keychain Loop | Split-ring loop on the top of your model, for a keyring | 8.4 × 2.4 × 10.2 mm |
| Oval Pendant | Small oval with a chain hole, for a necklace | 35 × 45 × 5 mm |
| Round Wall Mount | Round plate with a single nail hole | 60 × 60 × 5 mm |
| Square Wall Mount | Square plate with two nail holes near the top corners | 60 × 60 × 5 mm |
| Shield Wall Mount | Shield outline with two nail holes | 60 × 70 × 5 mm |
| Round Display Base | Round disc with the model lying flat on top | 50 × 50 × 5 mm |
| Square Display Base | Square disc with the model lying flat on top | 50 × 50 × 5 mm |
| Upright Stand | Square disc with the model standing like a trophy | 50 × 50 × 5 mm |
| Desk Nameplate | Angled wedge with the model reclined on the slope | 150 × 35 × 50 mm |
All the plates are 5 mm thick, which prints stiff and sturdy on any FDM printer. A few details are worth knowing before you start:
- The keychain loop keeps real-world size. It stays about 8.4 mm across whatever size your model is, unless you scale it yourself, because it has to take a real split ring. Your model is scaled so its larger footprint side (width or depth) is 45 mm (a tall figurine can stand taller), and the loop's stem sinks about 3.5 mm into it.
- The loop seat follows the shape. On a flat piece such as a logo or a badge, the loop comes out of the top edge in the same plane. On a bulky model such as a figurine, it stands upright on the top surface above the model's center, so a character usually gets a loop on its head rather than buried in its side.
- Models are seated slightly into the base, not balanced on top. That small overlap is what lets the two parts fuse into one solid at export.
How to Make a 3D Printed Keychain with AI (Step by Step)
You can go from an idea to a sliced keychain in five steps: choose a subject, generate the model, open Mounts & Keychains and pick a base, adjust the fit, and export. Placing the model is free for signed-in users; downloading the finished file needs Sloyd Plus or Sloyd Pro.
1. Start with a strong silhouette
Keychains are seen small and from a distance, so pick a subject that reads as a shape: a chunky animal, a helmet, a potion bottle, a logo. Thin spikes, loose hair strands and floating parts either break or vanish at 45 mm. Prompts like "chunky cartoon fox sitting, thick tail, simple shapes, toy style" print better than "realistic fox with detailed fur".
2. Generate the model (or upload one)
Use text to 3D for a fresh idea, or image to 3D when you have a pet photo, a drawing or a mascot sketch. For a clean hard-surface charm such as a sword, a lantern or a tool, LLM 3D Creation builds one focused object and lets you refine it with follow-up prompts; the LLM vs diffusion text-to-3D explainer covers when that approach wins. Already have a model? Upload it: the 3D tools accept GLB, glTF, FBX, OBJ, STL, PLY, DAE, BLEND, USD, USDA and USDC.
If the model is too dense or slightly off in shape, run it through Mesh Modifiers first to decimate it or reshape it. Mesh Modifiers exports the edited file rather than updating the model in Sloyd, so download it as GLB and upload it back (Upload 3D Model) before you mount it. If you have split a model into parts, note that Mounts & Keychains works on whole models, not on split results, so mount the original model.
3. Open Mounts & Keychains and pick a base
Open Mounts & Keychains from the 3D Tools menu, or choose it from the model menu in the viewer. Pick a model from your activity or upload one, then click a base tile. The solver scales, rotates and seats your model on the base automatically, and the camera reframes on the piece.
4. Adjust the fit
The automatic placement aims to land close, not final. The editor gives you:
- Move, Rotate and Scale (keyboard shortcuts W, E and R) for either the model or the base.
- Flip front/back, for when the artwork faces into the base. Geometry alone cannot always tell a model's front from its back, so this is your call.
- Seat on base again, which re-runs the automatic placement after you have experimented.
- Base colour and four view modes (Lit, Unlit, Solid and Wireframe), so you can check the shape without textures.
- Placement notes and hints. Hints flag a model that overhangs the base, floats above it or reaches a nail hole. They never block you, and they can over-report on round shapes, so treat them as a second pair of eyes.
5. Export, slice and print
Click Export and choose a format: STL (recommended), 3MF, OBJ + MTL, PLY or GLB. At export, Sloyd welds the model and the base into one solid piece and writes STL, 3MF, OBJ and PLY in millimeters, which is what every slicer expects. The confirmation shows the measured size of the file, so you can check it before you open it.
Open the file in OrcaSlicer, Bambu Studio, PrusaSlicer or Cura and slice as usual. Mounts & Keychains downloads the file rather than sending it to a slicer for you. To send a model without a base straight to a slicer, use the regular model Export (Send to OrcaSlicer or Send to Bambu) or Multicolor Print's Send To button. For a refresher on export formats, see STL vs OBJ explained and the STL glossary entry.
Printing Tips for Strong Keychains, Pendants and Mounts
A keychain fails at the loop, a wall mount fails at the nail hole, and both are decided by orientation and walls more than by the model. Get those right and PLA is plenty for most pieces.
Orientation
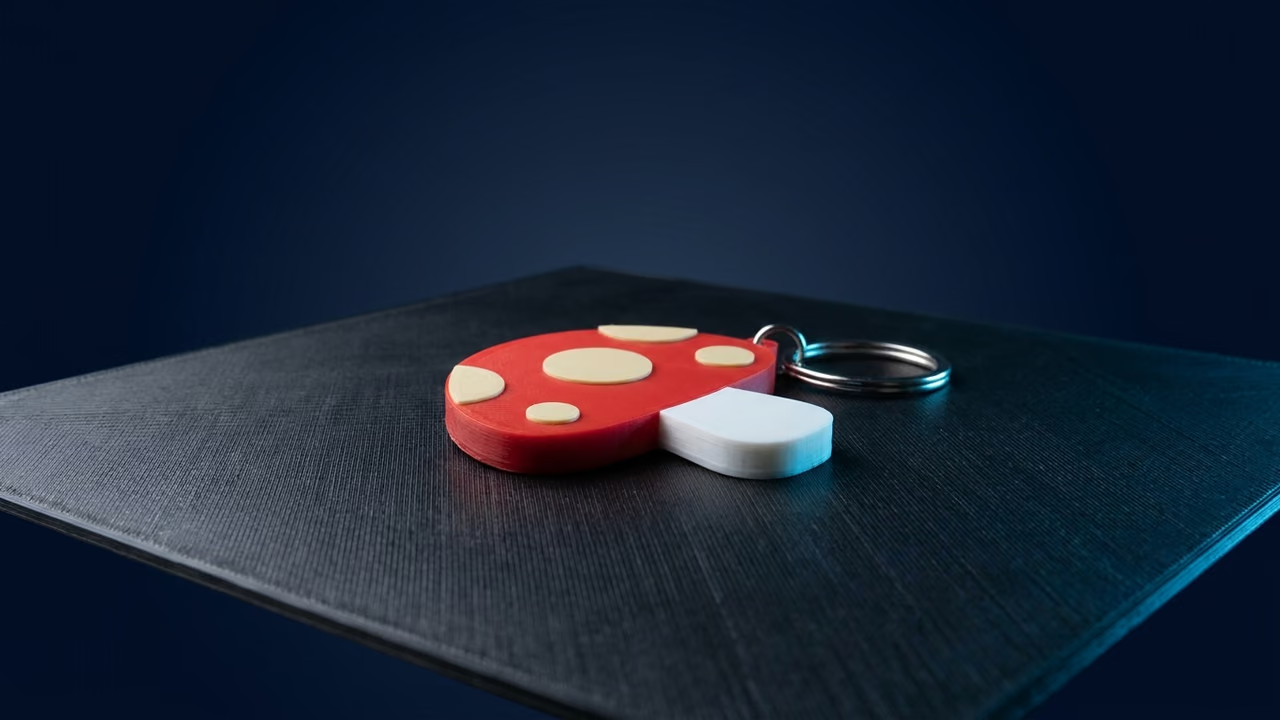
- Print flat pieces flat. A logo keychain, pendant or wall mount should lie on its back. The loop then prints in the same plane, with layer lines running around the ring, which is the strongest direction.
- Upright loops are the weak spot. On a figurine with a loop on its head, the ring prints vertically and layers stack across it. Add walls, slow down, or switch to PETG for anything that will hang from a bag every day.
- Stands print base down. The display bases and the desk nameplate sit on their flat bottoms; let the slicer add supports only where the model overhangs.
Walls and infill
- Use at least three walls (perimeters) on keychains. With a 0.4 mm nozzle that gives about 1.2 mm of solid shell, and on small parts the walls carry the load, not the infill.
- Raise infill on small parts. At keychain size, 30 to 50 percent infill costs almost nothing and stiffens the piece.
- Keep fine details above two line widths. Anything thinner than roughly 0.8 mm on a 0.4 mm nozzle tends to disappear or snap.
Material
- PLA prints easily, holds detail and is fine for wall mounts, stands and pendants.
- PETG flexes before it breaks, so it survives keys, drops and a hot car better than PLA. Use it for keychains you will actually carry.
Multicolor prints
Multicolor Print reduces a textured model to a set number of colors (1 to 16, starting at 4), lets you remap each slot, and exports an OBJ or sends it straight to OrcaSlicer. Exports are for Sloyd Plus and Pro. It works on the model itself, so it suits figurine charms you print without a base. A mounted piece exports as one welded solid, so color it in your slicer instead, for example with the slicer's color painting tool or a filament change at the layer where the model meets the base. The best practices for 3D printing with Sloyd cover slicer settings in more depth.
Other Ways to Make a Keychain: How the Tools Compare
Sloyd is built for making a keychain or mount from a full 3D model. For text name tags, parametric designs or total control, other tools fit better. Facts below were checked on 30 October 2026.
Sloyd Mounts & Keychains
Starts from any 3D model, generated or uploaded, and adds one of nine bases. Placing is free for signed-in users; downloads need Sloyd Plus ($15/month or $150/year) or Sloyd Pro ($50/month or $500/year). See the pricing page.
Where it is not the answer: there is no text or font tool for name tags, no parametric sliders for loop size, and you cannot design a custom base shape. For a printed name, use one of the tools below.
MakerWorld MakerLab
Bambu Lab's MakerWorld runs MakerLab, a set of generators that includes Image to Keychain (turns a picture into a flat, layered keychain), and many community parametric keychain models open in its Customize view, where you change fonts, sizes, thickness and ring position with sliders. Pricing and limits change, so check MakerLab's current terms on MakerWorld.
Pick it when: you want a name tag or a flat, multicolor keychain from a 2D image, especially on a Bambu printer with an AMS.
Tinkercad
Tinkercad describes itself as "a free, easy-to-use app for 3D design, electronics, and coding." Its help center covers exporting STL and OBJ files for 3D printing. You build the keychain yourself from blocks, text and a ring shape.
Pick it when: you are teaching, want text on a tag, or need exact dimensions on a simple shape.
Thingiverse Customizer
Thingiverse Customizer was built to run OpenSCAD designs with editable parameters in the browser, so you could change the text or size on a published keychain and download the result. Thingiverse's page now says a new Customizer experience is being built, so check that it works before you plan around it.
Pick it when: the new Customizer has launched and a published parametric keychain already does what you want. Until then, MakerWorld's Customize view covers the same need.
Blender
Blender is "Free and Open Source software, forever," under the GNU GPL. You can model any keychain and loop you like, but it is a full 3D suite with a real learning curve. Our Blender alternatives roundup covers lighter options.
Pick it when: you need full control, custom hardware or sculpted detail, and have the time.
Comparison table
| Tool | Starts from | Keychain and mount options | Skill needed | Price (checked 30 Oct 2026) |
|---|---|---|---|---|
| Sloyd Mounts & Keychains | Any 3D model, text or image | Loop, pendant, 3 wall mounts, 4 stands | Low | Free to place; download on Plus ($15/mo) or Pro ($50/mo) |
| MakerWorld MakerLab | Image or parametric template | Flat keychains, name tags | Low | Check the vendor's site |
| Tinkercad | Blocks, text, imports | Anything you build by hand | Low to medium | Free |
| Thingiverse Customizer | Published OpenSCAD designs | Whatever the design exposes (new version in development as of 30 Oct 2026) | Low | Check the vendor's site |
| Blender | Anything | Anything you model | High | Free (GPL) |
Common Mistakes When Making 3D Printed Keychains
Most failed keychains come from five mistakes: thin parts, a shrunken loop, wrong units, a model facing into its base, and a covered nail hole.
- Picking a subject with thin parts. Whiskers, antennae and hair strands snap at keychain size. Choose chunky shapes, or regenerate with a prompt that asks for thick, simple forms before you mount the model.
- Scaling the loop down with the model. A loop smaller than your split ring is useless. Sloyd keeps the loop at real size for this reason; if you build one by hand, do the same.
- Exporting in the wrong units. Millimeter coordinates read as meters come out a thousand times too large, and a file in meters read as millimeters a thousand times too small. Check the size your slicer reports against the size Sloyd showed at export.
- Ignoring the face direction. If the artwork faces into the base, use Flip front/back before you export, not after you print.
- Covering a nail hole. Watch the hints on wall mounts and move the model clear of the holes.
FAQ
Can AI make a keychain from a photo?
Yes. Turn the photo into a 3D model with Sloyd's image to 3D, then open Mounts & Keychains, pick the Keychain Loop and export an STL. The model is scaled so its larger footprint side is 45 mm, and it gets a loop sized for a real split ring, sunk about 3.5 mm into the top of the piece.
What size should a 3D printed keychain be?
Around 40 to 50 mm across works for most keychains: big enough to hold detail, small enough to carry. Sloyd scales the model so its larger footprint side is 45 mm for the keychain loop, and you can scale from there. Keep plates about 5 mm thick for FDM and fine details above roughly 0.8 mm.
What is the best filament for keychains?
PETG is the best everyday choice because it flexes before it breaks and handles heat better than PLA. PLA is fine for display pieces, pendants, wall mounts and stands. Whatever you use, print flat pieces flat so the loop's layers run around the ring, and use at least three walls.
Is Mounts & Keychains free?
Seating a model on any of the nine bases is free for signed-in Sloyd users, so you can try every base and adjust the fit. Downloading the finished, welded file in STL, 3MF, OBJ + MTL, PLY or GLB requires Sloyd Plus at $15 per month or Sloyd Pro at $50 per month.
Can I send my keychain straight to OrcaSlicer?
Not from Mounts & Keychains directly: it downloads the file, which you then open in OrcaSlicer or any other slicer. Sloyd's Multicolor Print does have a Send To OrcaSlicer button for color models, and the regular model export offers a Send to OrcaSlicer option that opens a 3MF directly.
Can I sell 3D printed keychains made with Sloyd?
Not without a separate license, even on Plus or Pro. Sloyd's Terms of Use allow 3D printing Sloyd models for personal use only, so printing keychains to sell at a market or online needs a custom commercial license. Email support@sloyd.ai to discuss one before you start a production run.
Can I make a wall plaque or desk stand for a 3D logo?
Yes. Create a 3D logo, then choose a round, square or shield wall mount, a display base, the upright stand or the angled desk nameplate. The logo is fitted to the base automatically and nudged away from the nail holes (a hint tells you if it still reaches one), then welded into one printable piece when you export.
Make Your First AI Keychain
A reliable path from idea to keychain is a model with a strong silhouette, a base that matches how you will use it, and a slicer profile with enough walls. Generate the model, seat it, export one welded STL, and print it flat.
Start a model with text to 3D or image to 3D, make a mark with the 3D logo maker, then open Mounts & Keychains to add the loop or stand. For more print-ready workflows, read 10 tips for print-ready AI models, the Halloween prints from a photo guide, how to create STL files from text prompts and, if you plan to sell, from hobby to side hustle (commercial 3D printing of Sloyd models needs a custom license from support@sloyd.ai). Building a whole set of charms for a game? Export them together with game asset packs. The full printing toolkit is on the 3D printing page, and plans are on the pricing page.