You’ve designed the perfect model in Sloyd.ai, and now you’re ready to bring it into the physical world. The journey from digital design to tangible object is exciting, but it can have a few hurdles. To help you get flawless results every time, we’ve put together our best practices for 3D printing your Sloyd creations.
Start with the Right Preset
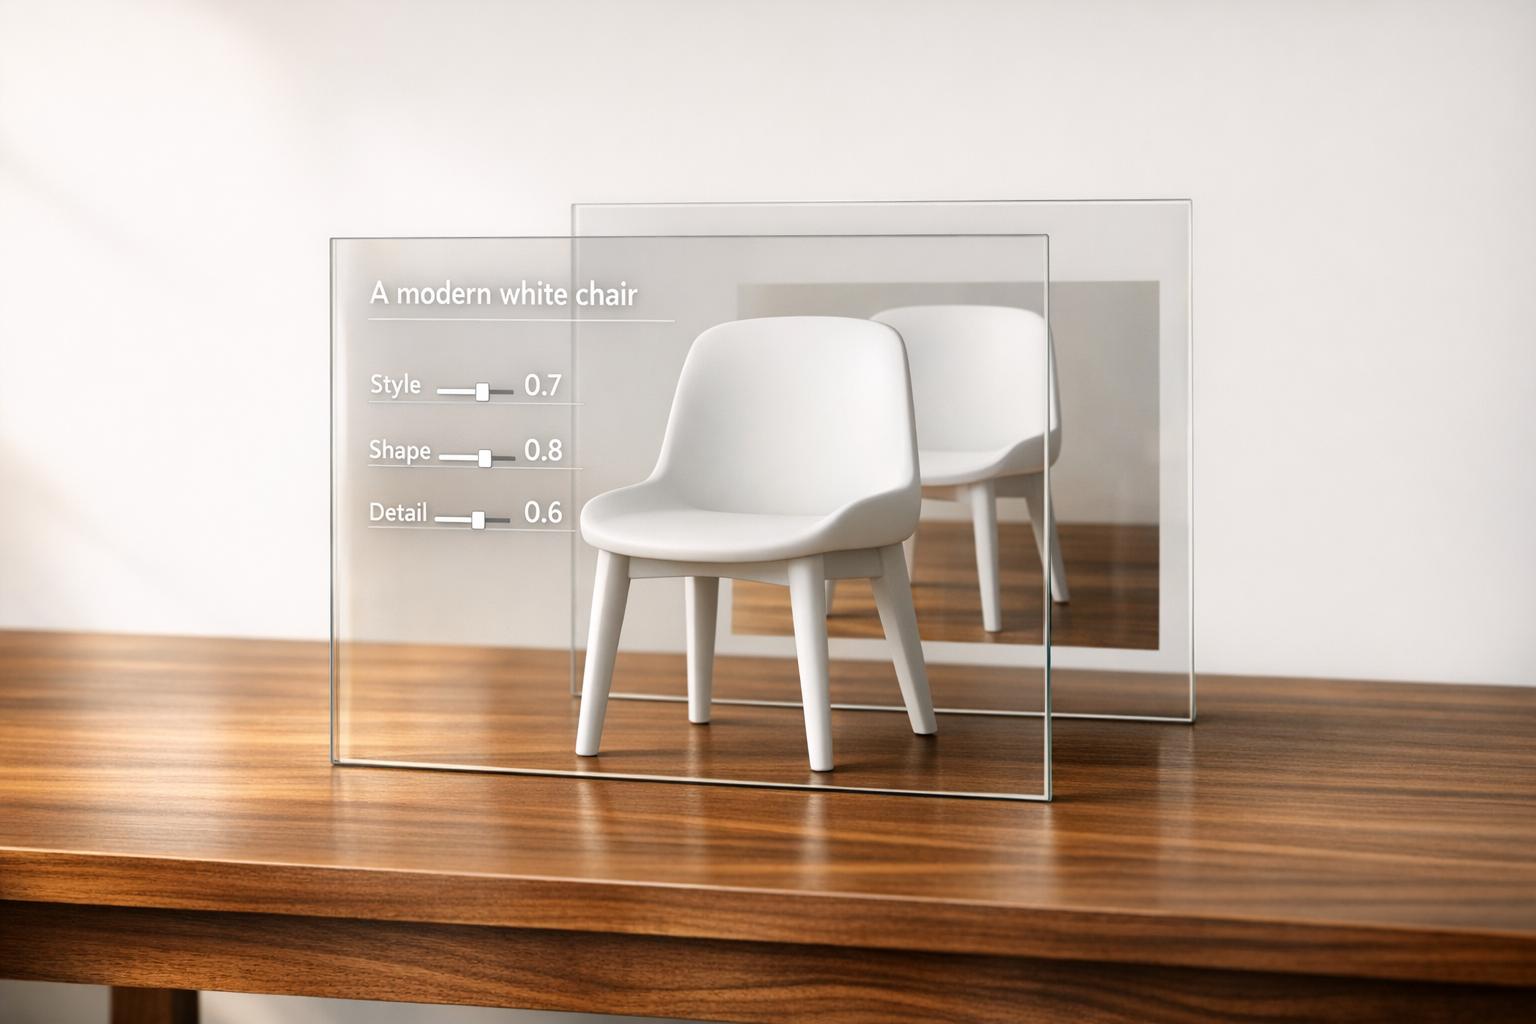
The easiest way to ensure a successful print is to start with a model that’s already optimized for it. Whether you're using our Text-to-3D or Image-to-3D generators, Sloyd offers a dedicated "3D Printing" preset.
Selecting this option before generating your model does a few crucial things behind the scenes:
- Optimizes the Mesh: It creates a solid (watertight) mesh, which is essential for 3D printers to understand the object's geometry without errors.
- Removes Unnecessary Data: The preset strips out textures and UV coordinates, as these aren't needed for printing and can sometimes complicate the process.
- Improves Printability: It makes smart adjustments to reduce potential issues like holes or overly thin walls, giving you a much more robust model from the get-go.
Starting with this preset, which you can try in our Text-to-3D lab, saves you a ton of prep work and drastically increases your chances of a perfect first print.
Exporting to STL and Preparing Your Slicer
Once your model is ready, it's time to export it. For 3D printing, the standard file format is STL (Stereolithography), which Sloyd supports for all generated models. An STL file describes the surface geometry of a 3D object, making it the perfect language for your printer to understand.
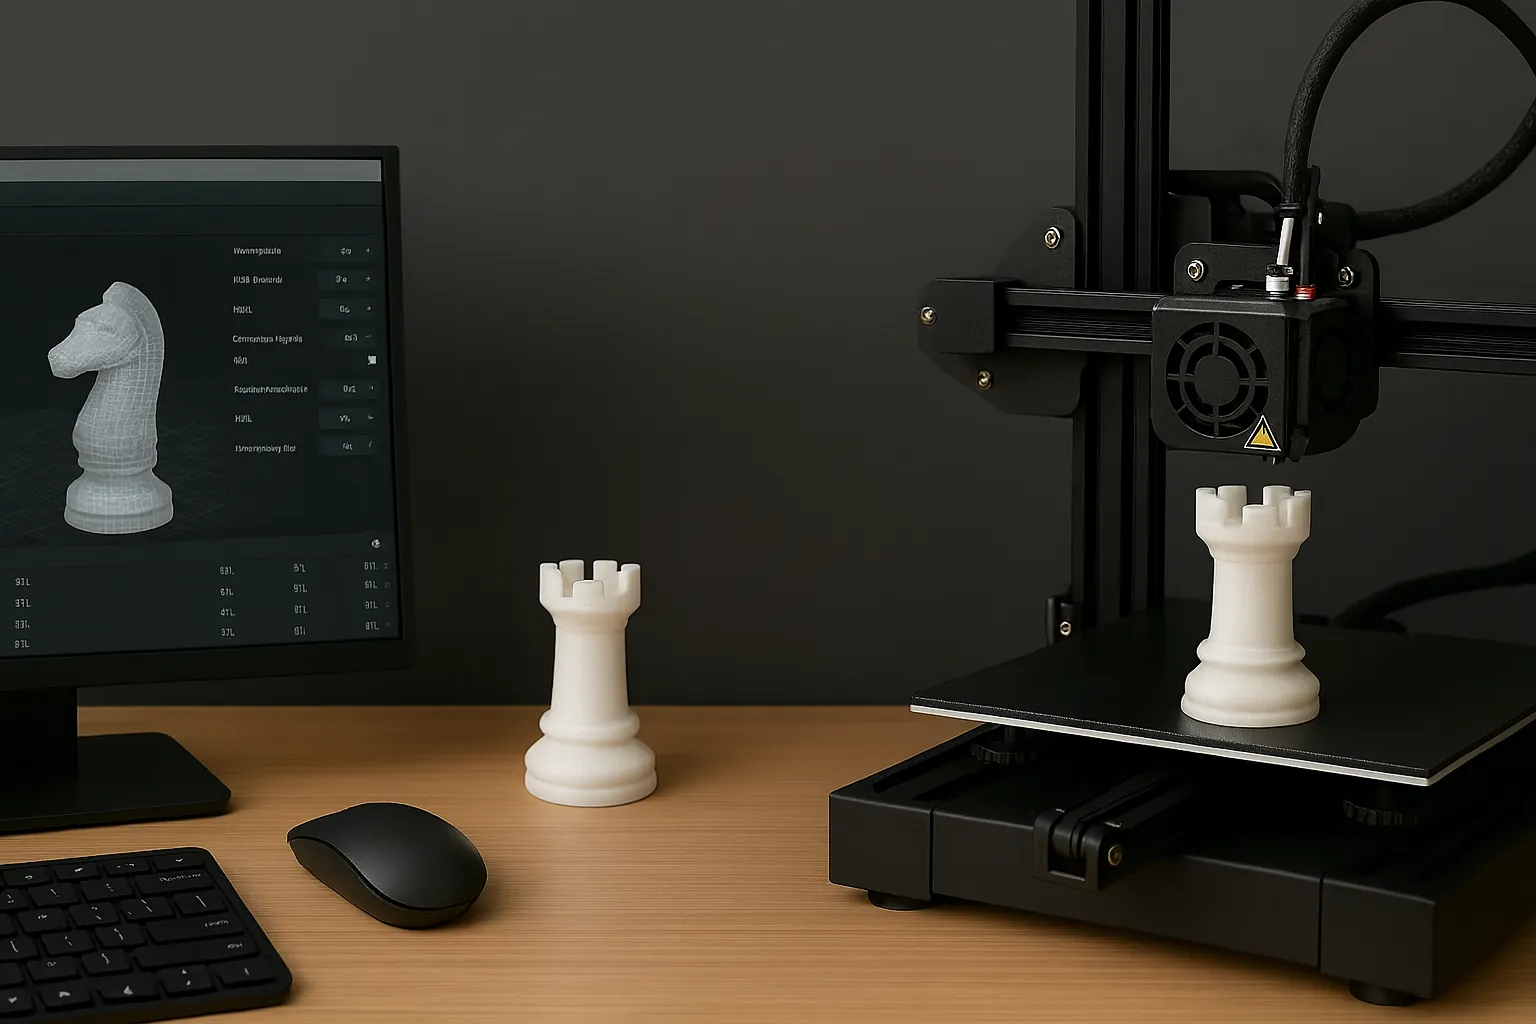
After downloading your STL file, you'll need to open it in a slicer program. A slicer is a piece of software that "slices" your model into hundreds or thousands of thin horizontal layers and generates the G-code (the instructions) your printer follows. Popular free slicers include Cura and PrusaSlicer.
Here are a few key things to check in your slicer:
- Orientation: Ensure your model is positioned correctly on the virtual build plate. Placing the largest, flattest surface down often provides the best stability.
- Supports: If your model has significant overhangs (parts that stick out at a steep angle), you’ll need to enable supports. These are temporary structures that prevent drooping and ensure the overhanging parts print correctly.
- Infill: This is the internal structure of your print. A higher infill percentage (e.g., 20-25%) creates a stronger, heavier object, while a lower infill (e.g., 10-15%) prints faster and uses less material.
Final Tips for a Flawless Print
Before you hit "print" on that 12-hour job, follow these final tips to avoid common pitfalls.
Do a Test Print
Always print a small-scale version of your model first. A miniature test print that takes only 20-30 minutes can reveal potential issues with orientation, supports, or model geometry. This simple step can save you hours of wasted time and filament on a failed large print.
Check Your Printer Settings
Every 3D printer and filament type has its own ideal settings. Double-check your nozzle temperature, bed temperature, and print speed to ensure they match the recommendations for your specific material (PLA, ABS, PETG, etc.). A quick search for your filament brand's recommended settings can make a world of difference.
By using Sloyd's powerful generation tools and following these simple 3D printing tips, you can seamlessly turn your digital ideas into high-quality physical objects. Now, go ahead and bring your creations to life