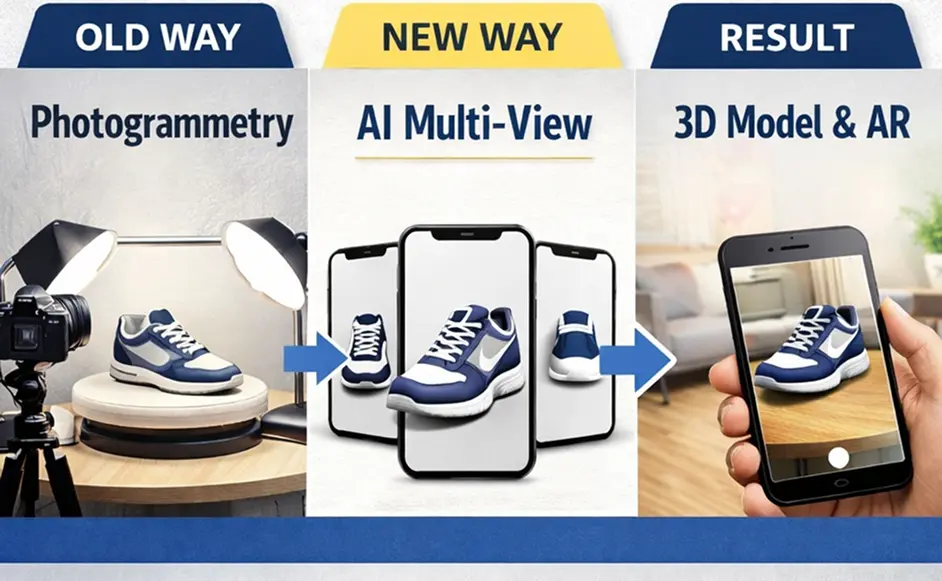
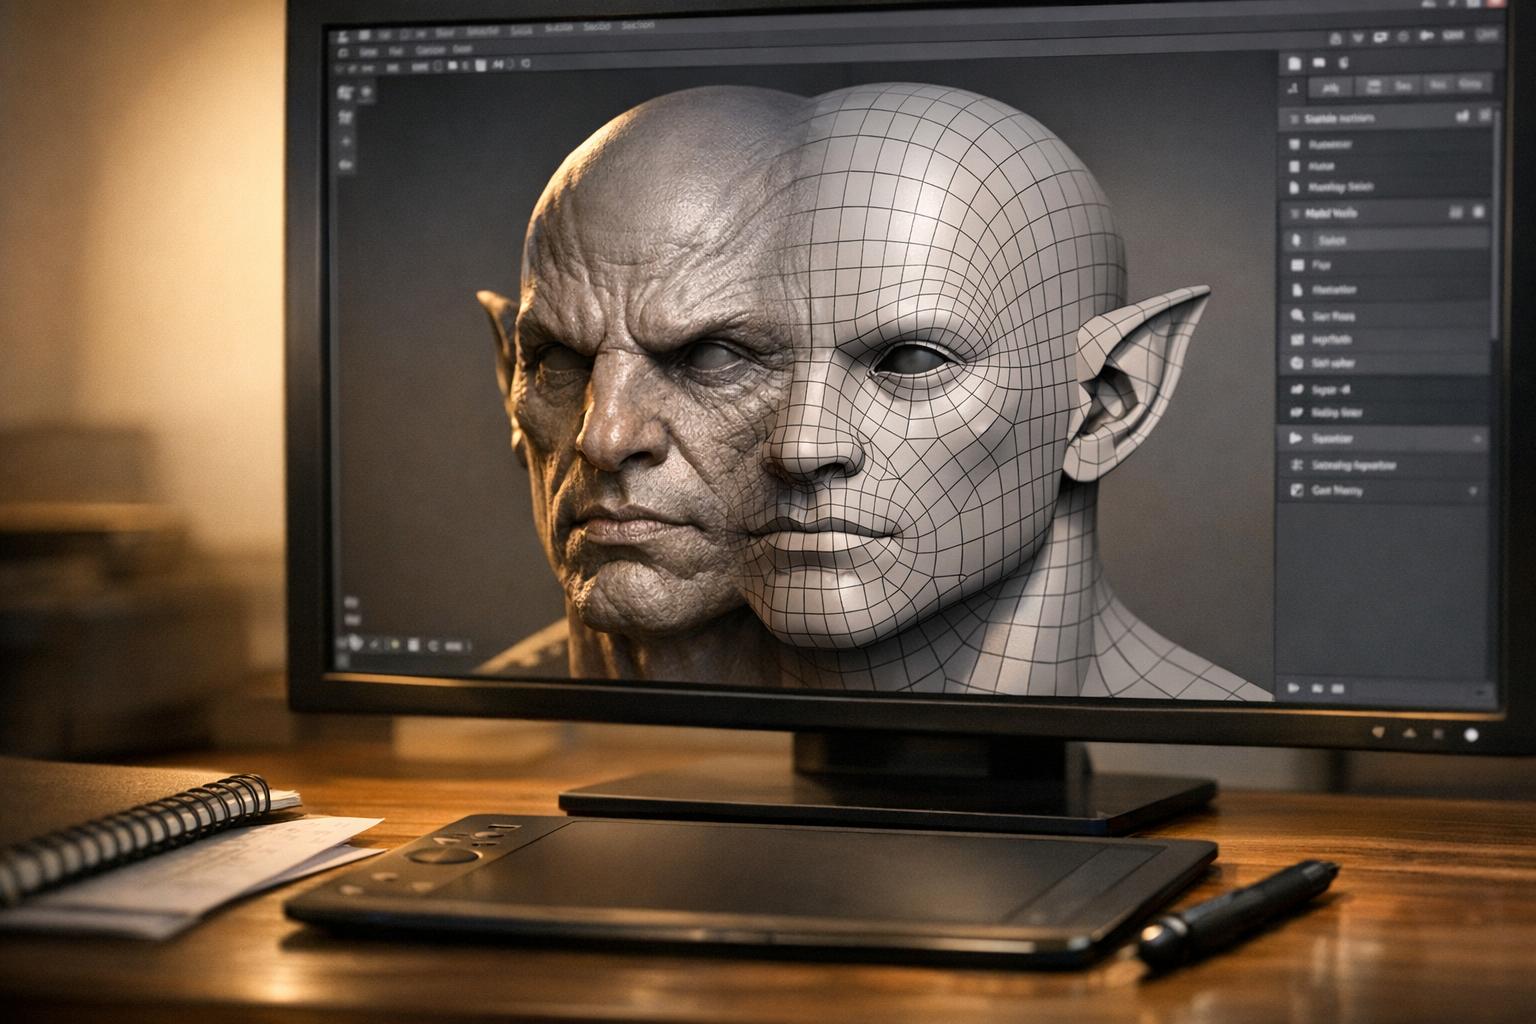
Ever tinkered with an image-to-3D tool and wondered why your fantastic photo didn't quite translate into the perfect 3D model? You're not alone! While the magic of converting a 2D image into a navigable 3D object is truly incredible, getting optimal results often comes down to the quality and characteristics of your source image. Think of it like a chef: even the best chef needs good ingredients to create a masterpiece.
Image-to-3D tools, like the one offered by Sloyd.ai, are powerful, but they rely on the visual information you feed them. The clearer and more focused your input, the better the AI can interpret shapes, depths, and textures. Let's dive into some practical tips that can significantly improve your results when using any image to 3D converter.
The Foundation: Why Your Source Image Matters So Much
At its core, an image-to-3D generator analyzes your photo to understand the object's geometry and surface details. It looks for clues about edges, shadows, and how light interacts with surfaces to reconstruct a three-dimensional form. When these clues are muddled or absent, the AI has to guess, which can lead to distorted or less accurate models. By providing a clean, clear source image, you're essentially giving the AI the best possible blueprint.
Key Tips for Prompt Images
Getting that perfect 3D model often starts before you even open the image-to-3D tool. Here are the crucial elements to consider when preparing or selecting your prompt image:
1. Embrace Clean, Simple Backgrounds
This is perhaps the most critical tip. A busy or cluttered background can confuse the AI, making it difficult to distinguish your main object from its surroundings. Imagine trying to cut out a shape from a patterned piece of paper versus a plain one – it’s much easier with a plain background.
- What to aim for:
- Solid, contrasting colors: A white object on a plain black background, or a colorful item on a neutral gray, works wonders.
- Minimal elements: No other objects, textures, or distracting patterns in the background.
- Good separation: Ensure there’s clear space between your object and the background.
- What to avoid:
- Busy patterns or textures that might be mistaken for part of the object.
- Other objects sharing the same space, even if blurred.
- Reflective surfaces in the background that could cast confusing light.
2. Focus on a Single Object
While it might be tempting to capture a whole scene, image-to-3D tools generally perform best when presented with one clear subject. If there are multiple objects, the AI might try to combine them, create an ambiguous shape, or simply struggle to identify the primary focus.
- The ideal scenario: Your image should feature one distinct item that you want to transform into 3D.
- Why it helps: It allows the AI to dedicate all its processing power to interpreting that single form, leading to a more accurate and detailed model. If you want multiple objects, consider generating them individually and then assembling them in a 3D editor.
3. Maximize Contrast and Detail
Contrast isn't just about color; it's about how light and shadow define shapes and surfaces. Good contrast helps the AI "see" the edges, curves, and features of your object more clearly.
- Lighting is key:
- Even, diffused light: Avoid harsh shadows or overly bright spots that can obscure details. Natural daylight (not direct sunlight) often works well.
- Highlighting contours: Light that gently reveals the object's contours rather than flattening them is ideal.
- Color contrast: Ensure there's a good distinction between the object's colors and its background, as well as between different parts of the object if they have distinct features.
- Sharpness and resolution: A crisp, high-resolution image provides more data for the AI to work with. Blurry photos will naturally yield blurry 3D models.
Beyond the Basics: Extra Tips for Success
- Optimal Angles: Experiment with different angles. A straight-on shot might be good for identification, but a slightly angled view can sometimes provide more information about an object's depth and form.
- Avoid Reflections: Shiny objects or surfaces that reflect light can introduce confusing visual data. If possible, photograph such items in a way that minimizes glare or reflections.
- Crop Wisely: Before uploading, crop your image tightly around the single object, removing any unnecessary surrounding space.
Bringing Your Images to Life with Sloyd.ai
Understanding these tips will significantly boost your success with any image-to-3D tool. At Sloyd.ai, we're focused on making 3D creation as accessible and straightforward as possible. Our Image-to-3D tool is designed to be intuitive, allowing you to transform your prompt images into stunning 3D models with ease. You can jump right into the Image-to-3D lab and start experimenting!
What makes Sloyd stand out is not just the quality of our individual tools, but the breadth of our platform. Beyond converting images, you can also effortlessly generate models using our Text-to-3D feature (give it a try in the Text-to-3D lab). This wider range of services, including our unique Template Editor, gives you unparalleled creative freedom. Plus, with Sloyd, you get unlimited generations and downloads, making it an incredibly cost-effective solution for all your 3D modeling needs. Discover the full potential at Sloyd.ai.
Start Experimenting Today!
The best way to master image-to-3D tools is through practice. Take these tips as your starting point, but don't be afraid to experiment with different images and settings. You'll quickly get a feel for what works best. Happy modeling!


