Have you ever scribbled a quick doodle on a napkin and wished you could hold it in your hands? What was once a complex process requiring hours of technical 3D modeling is now incredibly simple, thanks to AI. You can now take that simple sketch and turn it into a 3D-printable model in just a few minutes. Let’s walk through how you can bring your doodles to life.
Start with a Good Doodle
The magic of AI is powerful, but it works best with a clean starting point. The quality of your input sketch directly impacts the quality of your final 3D model. For the best "doodle to 3D" results, keep these tips in mind:
- Use Bold, Clear Lines: Thin, sketchy lines can confuse the AI. Go for a confident, solid outline. A black marker on white paper is perfect.
- High Contrast is Key: A dark drawing on a light, clean background works best. Avoid busy backgrounds, shadows, or crumpled paper.
- Keep it Simple: Complex, overlapping shapes or intricate details are harder for AI to interpret. Start with simple, distinct characters or objects. Think logos, simple characters, or basic shapes.
- Close Your Shapes: Ensure all your lines connect. An open gap in your sketch can lead to an incomplete or broken 3D model.
Quick Cleanup for Better AI Results
Before you upload your doodle, a little digital cleanup can make a huge difference. You don’t need fancy software; a basic, free image editor will do the trick.
First, take a clear photo of your sketch or scan it. Then, open the image and:
- Crop It: Cut out any unnecessary background noise.
- Increase Contrast: Make the whites whiter and the blacks blacker. This helps the AI clearly distinguish the doodle from the background.
- Clean Up Strays: Erase any smudges, stray marks, or specs of dust that aren’t part of your main drawing.
This simple prep work takes only a minute but ensures the AI has the cleanest possible data to work with, giving you a much better 3D model.
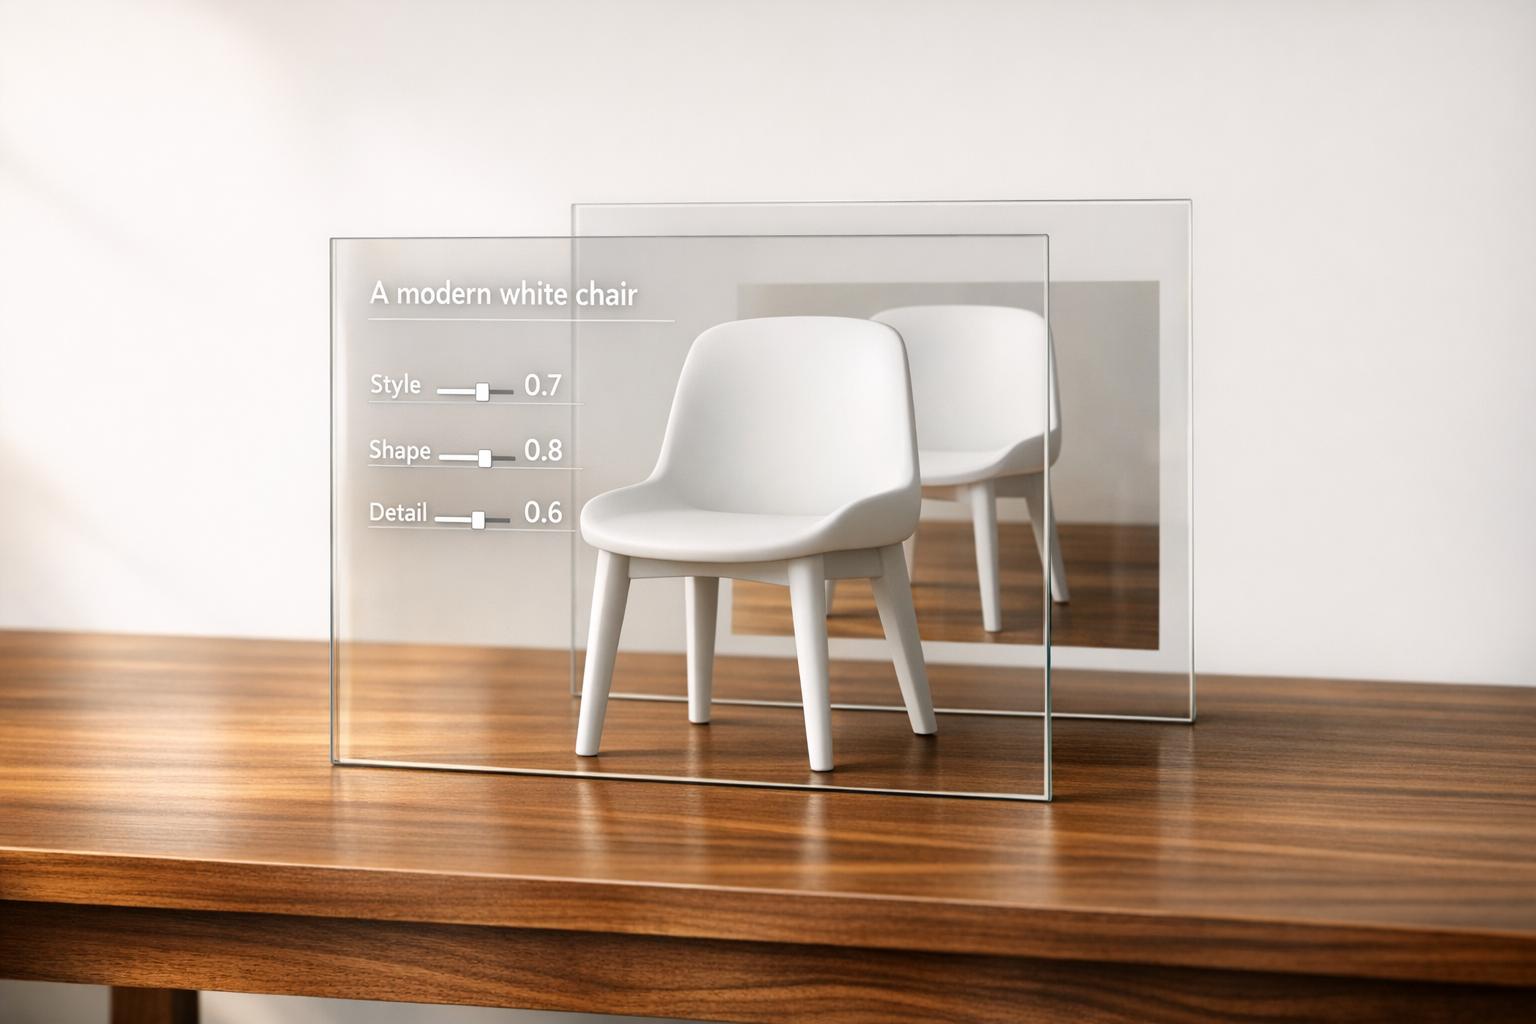
From Sketch to STL with Sloyd AI
Now for the fun part! With your cleaned-up image ready, it’s time to convert it into a 3D model. Sloyd's Image to 3D generator makes this process incredibly easy.
Simply visit the Image to 3D app, upload your image, and let the AI work its magic. Within seconds, it will generate a 3D model based on your doodle. You can adjust the thickness and other parameters right in the browser to get it just right. If you’re feeling creative but don’t have a doodle, you can also try our Text to 3D generator to create models from a simple text prompt!
Once you’re happy with the result, you can download it as an STL file, the standard format used for 3D printing.
Print Prep: Getting Your Model Ready
You have your STL file—you’re one step away from a physical object! The final stage is "print prep," where you use a slicer program to prepare your model for your specific 3D printer. Slicers like PrusaSlicer or Cura (from Ultimaker) are popular free options.
Here’s what you do in the slicer:
- Import your STL: Open your downloaded file.
- Check Orientation: Rotate and place the model flat on the virtual print bed for maximum stability.
- Add Supports (If Needed): If your model has parts that hang in the air (overhangs), you may need to add temporary supports to prevent them from drooping during printing. Most slicers can do this automatically.
- Slice and Export: The software will "slice" the model into hundreds of thin layers and generate a G-code file, which is the set of instructions your printer follows.
Load that G-code onto your printer, and watch as your 2D doodle becomes a tangible 3D object. The entire process, from a simple sketch to a finished print, is a fantastic way to blend creativity with technology. Ready to try it yourself? Head over to Sloyd.ai and start bringing your ideas to life