Are you a Dungeons & Dragons enthusiast, tabletop RPG gamer, or hobbyist looking to bring your fantasy characters to life? Traditionally, creating custom miniatures required extensive modeling skills and hours spent sculpting in complex software like Blender or ZBrush. But now, thanks to AI-powered tools like Sloyd, you can effortlessly turn your sketches or reference images into ready-to-print 3D miniatures—fast and with minimal hassle.
In this guide, we'll show you step-by-step how to quickly create detailed, fantasy-ready miniatures directly from reference images using Sloyd.
Step 1: Preparing Your Reference Image
The quality of your 3D miniature begins with a good reference image. To ensure best results:
- Background: Use clear images with clean, solid-colored backgrounds (white is best).
- Visibility: Ensure the entire character or object is fully visible with no important details hidden.
- Contrast: High contrast and clear outlines yield significantly better results.
Step 2: Uploading Your Image to Sloyd
Follow these easy steps:
- Log in to Sloyd.ai and select the Image-to-3D option.
- Click the upload button and select your prepared reference image.
- Choose your preset:
- High Quality: ~40,000 triangles, best for detailed renders.
- Low Poly: ~5,000 triangles, optimized for games or quick prints.
- 3D Printing: Specifically optimized mesh for reliable printing without textures.
For miniatures, select the 3D Printing preset for optimal print quality.
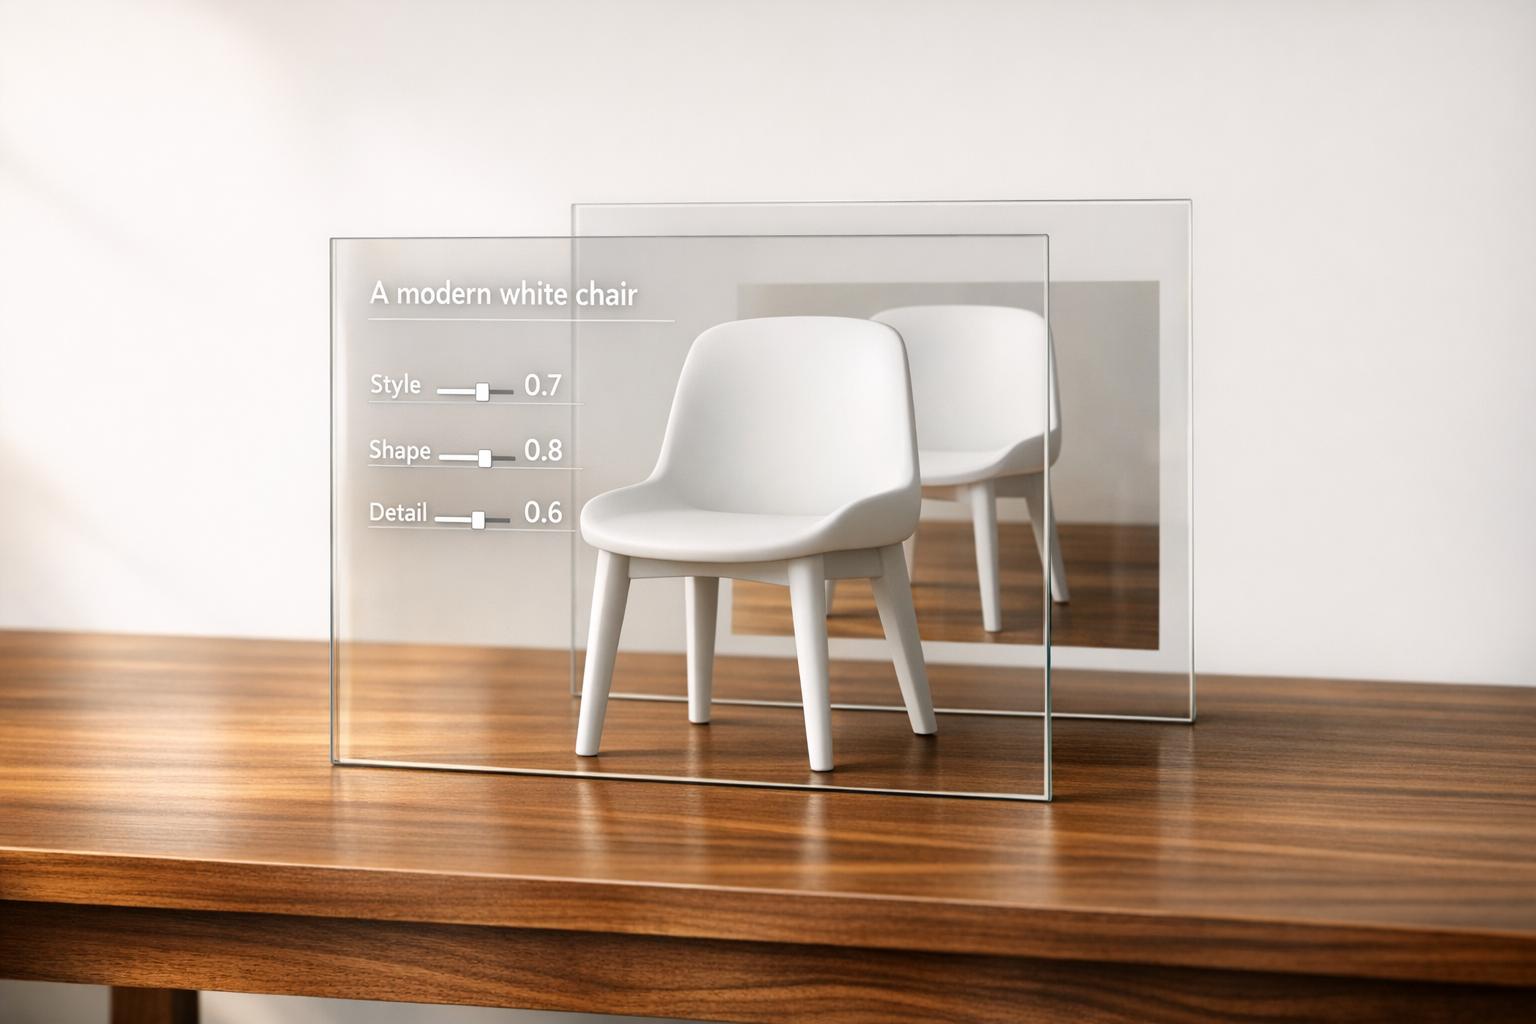
Step 3: Iterating for the Best Results
While Image-to-3D generated models aren’t parametric and cannot be edited in the Template Editor, you can still improve outcomes by iterating with different image inputs.
- Try Slight Variations: Slightly change pose, lighting, or character silhouette and re-upload to test results.
- Use Text-to-Image Tools: If you don't have the perfect reference, use tools like DALL·E or Midjourney to generate stylized concept art of your fantasy character with clean backgrounds.
- Refine Prompt Design: Be specific—include terms like "full-body view," "white background," and "tabletop miniature proportions."
⚠️ Features like shader previewing, PNG snapshot export, and quick color palettes are exclusive to the Template Editor and are not available for Image-to-3D models.
Step 4: Exporting Your Miniature
Sloyd supports multiple file formats. Here’s a quick overview:
For direct printing, STL is recommended. For further customization, export in OBJ or GLB.
Step 5: Finalizing for Printing
Before printing, perform these essential checks:
- Scale & Dimensions: Adjust your miniature to the correct scale using your preferred slicing software.
- Slicing Software: Import into Cura, PrusaSlicer, or other slicers to ensure structural integrity.
- Supports & Rafts: Add manual supports if your print has complex features or overhangs.
Pro Tips for Optimal Miniature Creation
- Start with the Right Image: A well-composed reference image leads to cleaner geometry and fewer post-processing steps.
- Experiment and Iterate: Since each image can lead to a different output, don't hesitate to try a few variations before selecting your final model.
- Generate Before You Sketch: Use text-to-image AI tools to create ideal reference images if you're not confident in drawing them yourself.
Comparison: Sloyd vs. Traditional 3D Modeling Tools
Why Choose Sloyd?
Compared to manual sculpting or generic pre-made models, Sloyd offers significant advantages:
- Speed: Create and iterate your miniature designs in just minutes.
- Quality: AI-enhanced mesh optimization ensures consistent and high-quality 3D prints.
- Creative Freedom: Instantly transform images or sketches into varied 3D miniatures.
Get Started Today
Ready to level up your tabletop gaming experience? Create custom fantasy miniatures effortlessly and efficiently using Sloyd’s intuitive tools. Start your next miniature project today!