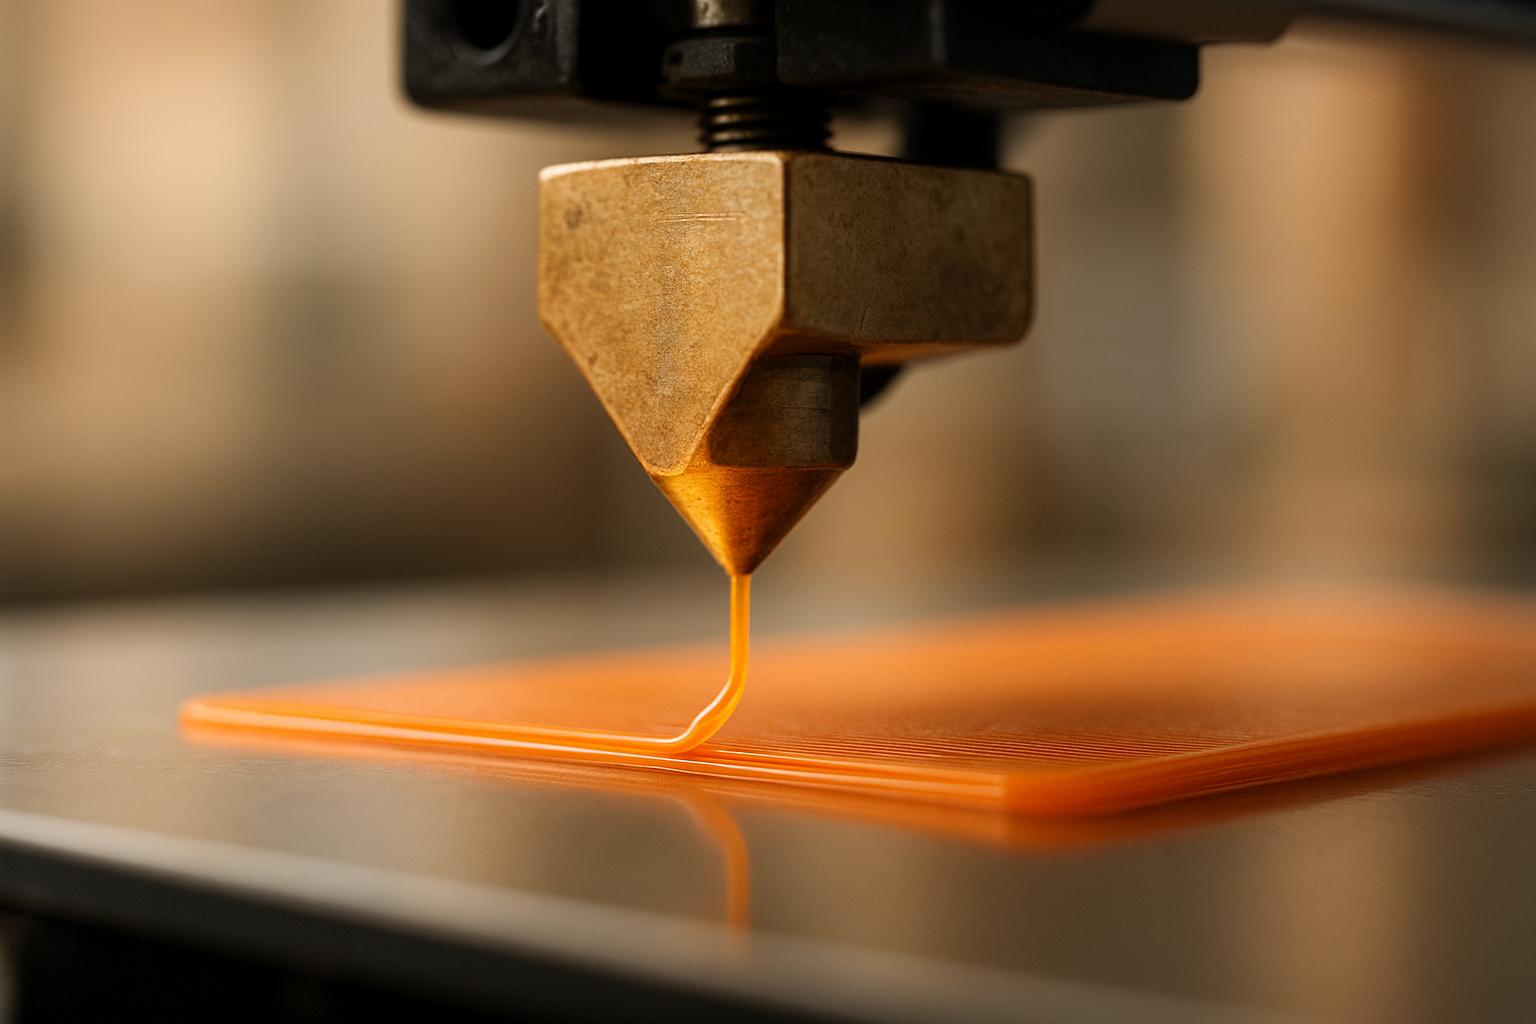
Want better 3D prints? Start with the right layer height. Layer height and nozzle diameter are two of the most important 3D printing settings you can adjust to balance print quality, strength, and speed. Your layer height for 3D should be between 25% and 80% of your nozzle diameter for the best balance of quality and speed. For example, a standard 0.4 mm nozzle works well with a layer height range of 0.1 mm to 0.32 mm, with 0.2 mm being a great starting point.
Here’s what you need to know:
- Thinner layers (e.g., 0.1 mm) = smoother surfaces and finer details but longer print times.
- Thicker layers (e.g., 0.3 mm) = faster prints but more visible layer lines.
- Material strength: Increasing layer height (e.g., from 0.16 mm to 0.28 mm) can reduce PLA part strength by up to 27%.
- Printer limits: Ensure your printer's Z-axis is accurate enough for thinner layers.
Quick Tips:
- Use the 50% rule as a starting point (e.g., 0.2 mm for a 0.4 mm nozzle).
-
Adjust based on your project:
- High detail = thinner layers.
- Functional parts = thicker layers.
- Check filament guidelines for best results.
Layer Height Reference Table:
| Nozzle Size | Min Height | Standard Height | Max Height |
|---|---|---|---|
| 0.25 mm | 0.06 mm | 0.13 mm | 0.20 mm |
| 0.40 mm | 0.10 mm | 0.20 mm | 0.32 mm |
| 0.60 mm | 0.15 mm | 0.30 mm | 0.48 mm |
| 0.80 mm | 0.20 mm | 0.40 mm | 0.64 mm |
Start with your nozzle size, determine your layer height range, and fine-tune for your project goals. The right settings make all the difference.
For best results, combine the right print settings with well-prepared geometry. See our guide on creating print-ready 3D models with AI to learn how to optimize models before printing.
Your Nozzle Size Matters! But which is BEST?
How Layer Height and Nozzle Diameter Affect 3D Printing
In 3D printing, the nozzle diameter is a fixed hardware feature that primarily dictates the resolution along the X and Y axes. Meanwhile, layer height is an adjustable setting that controls resolution on the Z-axis. When these two parameters are properly calibrated, you get consistent material flow and strong bonding between layers, which translates to high-quality prints. Essentially, aligning these factors ensures smooth extrusion and reliable adhesion, setting the foundation for selecting the optimal layer height by nozzle size.
Best Layer Height for 3D Printing
A good rule of thumb is to set the layer height between 25% and 80% of your nozzle diameter, with 50% being a solid starting point.
Here’s a quick reference for common nozzle sizes:
| Nozzle Diameter | Minimum Layer Height | Standard Layer Height | Maximum Layer Height |
|---|---|---|---|
| 0.25 mm | 0.06 mm | 0.13 mm | 0.20 mm |
| 0.40 mm | 0.10 mm | 0.20 mm | 0.32 mm |
| 0.60 mm | 0.15 mm | 0.30 mm | 0.48 mm |
| 0.80 mm | 0.20 mm | 0.40 mm | 0.64 mm |
For instance, if you’re using a 0.4 mm nozzle, your optimal layer height will fall between 0.10 mm and 0.32 mm, with 0.20 mm being a great default choice. Staying within this range helps maintain consistent flow and bonding, while straying outside it can lead to quality issues.
Effects on Print Quality and Speed
Layer height directly impacts both the appearance and speed of your prints. Thinner layers produce finer details and smoother surfaces but take longer to print. On the other hand, thicker layers reduce print time but result in more visible layer lines. Studies show that using smaller nozzle diameters with low layer heights can significantly improve surface smoothness and even boost mechanical strength.
Ultimately, finding the right layer height is about striking a balance between achieving detailed, polished results and managing print times efficiently.
How Nozzle Size Affects Layer Height
When it comes to setting layer height, a common rule of thumb is to aim for 50–75% of your nozzle diameter. But there’s more to it than just that - factors like print detail, material properties, and your printer's capabilities also play a big role. Let’s break it down further.
Print Detail and Surface Smoothness
The level of detail you want in your final print is a key factor when deciding on layer height. Thinner layers (around 0.1–0.15 mm) produce smoother surfaces and capture finer details, especially in curved or angled areas where the "stepping" effect is more noticeable. If you're aiming for a polished, professional finish, thinner layers are the way to go. Just keep in mind that thinner layers can significantly increase print time - cutting the layer height in half can nearly double the time it takes to complete a print.
On the other hand, if your design consists mostly of straight lines or flat surfaces, thicker layers (0.25–0.3 mm) can save you time without sacrificing too much quality. A helpful tip is to use a thicker first layer for better bed adhesion, then switch to thinner layers for the more detailed parts of your print.
Material Requirements
The type of filament you’re working with also affects your choice of layer height. Materials like PLA and ABS tend to perform well with similar layer height settings, making them relatively straightforward to work with. PETG, however, can require a bit of trial and error to strike the right balance between strength and speed. Flexible materials like TPU often need smaller layer heights and slower speeds to ensure proper bonding and prevent issues like deformation.
Always check the manufacturer’s guidelines for your specific filament, as formulations can vary. These recommendations can help you fine-tune your settings for the best results.
Check out our Guide for material-specific layer height settings
Printer Hardware and Z-Axis Accuracy
Your printer’s hardware sets the boundaries for what’s possible. The mechanical precision of your printer, especially its Z-axis, is a critical factor in achieving consistent layer heights. Z-axis calibration ensures that the vertical movement of the build platform or print head is accurate, which is essential for maintaining consistent layer thickness and adhesion.
Before attempting very thin layers, make sure your printer’s Z-axis is up to the task. It should have sufficient resolution and minimal mechanical play; otherwise, you risk inconsistent results. Proper calibration not only improves layer adhesion and surface finish but also boosts overall print quality - something that’s especially important for detailed prototypes or functional parts with tight tolerances.
To start, set your first layer at the ideal distance from the build platform, and recalibrate whenever you make major adjustments. This step ensures that each layer is precisely positioned, leading to smoother and more reliable prints.
Recommended Layer Height Settings for Common Nozzle Sizes
When dialing in your 3D printer, knowing the right layer height for your nozzle size can make all the difference. Below are some practical guidelines to help you achieve better results.
For optimal performance, keep your layer heights between 25% and 80% of your nozzle diameter. Going below 25% can lead to over-squishing and poor adhesion, while exceeding 80% may cause gaps and weaken your prints. The table below provides a quick reference for recommended settings based on nozzle sizes.
Layer Height Reference Table
Here’s a handy guide for common nozzle sizes and their corresponding layer height ranges:
| Nozzle Diameter | Min Layer Height | Standard Layer Height | Max Layer Height |
|---|---|---|---|
| 0.2 mm | 0.05 mm | 0.1 mm | 0.15 mm |
| 0.4 mm | 0.1 mm | 0.2 mm | 0.32 mm |
| 0.6 mm | 0.15 mm | 0.3 mm | 0.48 mm |
| 0.8 mm | 0.2 mm | 0.4 mm | 0.64 mm |
| 1.0 mm | 0.25 mm | 0.5 mm | 0.75 mm |
The "standard layer height" is a great starting point for most projects. For example, a 0.4 mm nozzle works well with a 0.2 mm layer height, striking a good balance between speed and detail.
Smaller Nozzles: A 0.2 mm nozzle is perfect for capturing fine details, making it ideal for intricate prints like miniatures or jewelry. However, finer layers mean longer print times - sometimes up to three times slower compared to thicker layers.
Larger Nozzles: If speed is your priority, larger nozzles like 0.6 mm or 0.8 mm are the way to go. A 0.6 mm nozzle, for instance, can cut print times nearly in half compared to a 0.4 mm nozzle, while still maintaining decent quality. Plus, thicker extrusion lines from larger nozzles often produce stronger prints, which is great for functional parts or large prototypes.
These recommendations are a starting point. Adjust settings based on your specific project needs. Keep in mind that nozzle diameter influences horizontal detail, while layer height affects vertical resolution. For the best results, aim for a layer height around 50% of your nozzle diameter to strike a balance between quality and efficiency.
sbb-itb-d35aaa6
How to Choose the Right Layer Height: Step-by-Step
Finding the ideal layer height for your 3D prints doesn’t have to be a guessing game. Here’s a straightforward approach to help you nail the perfect settings for your project and printer setup.
Define Your Project Goals
Start by identifying what you want to achieve with your print. This will shape all your decisions moving forward.
- High-detail projects: For intricate designs like miniatures, jewelry, or detailed models, precision matters more than speed. Opt for thinner layers, around 0.1 mm, to capture fine details and smooth curves.
- Functional parts: If you’re printing brackets, tools, or mechanical components, durability and efficiency take precedence. Thicker layers, between 0.2 mm and 0.3 mm, will save time while maintaining strength - especially if the part will be painted or hidden later.
- General-purpose prints: A balanced approach works best here. A layer height of about 50% of your nozzle diameter strikes a good compromise between quality and speed.
Don’t forget about post-processing. If you plan to sand, prime, or paint your print, you can go with thicker layers since surface imperfections can be smoothed out later anyway.
Once you’ve set your project goals, it’s time to confirm your printer’s nozzle size to ensure your chosen layer height is within the optimal range.
Check Your Nozzle Size
The next step is to look at your printer’s nozzle specifications. Most 3D printers come with a standard 0.4 mm nozzle, but it’s worth double-checking. You can usually find the size marked directly on the nozzle or in your printer’s documentation.
Once you confirm the nozzle diameter, adjust your slicer settings to match. Use the 25% to 75% rule to determine a suitable layer height. For example, with a 0.4 mm nozzle, layer heights between 0.1 mm and 0.3 mm generally work well, ensuring good material flow and proper layer adhesion.
Test and Fine-Tune Your Settings
Now it’s time to put your settings to the test. Start with a standard layer height - like 0.2 mm for a 0.4 mm nozzle - and print a small calibration model, such as a 3D Benchy. This will help you spot any issues with extrusion or detail.
If the layer lines are too visible or the detail isn’t sharp enough, lower the layer height in 0.05 mm steps. On the other hand, if the print is taking too long and you’re okay with sacrificing some detail, increase the layer height gradually.
Keep an eye out for warning signs like poor layer adhesion, gaps, or uneven extrusion, which might mean the layer height is too thin. For most FDM printers, going below 0.1 mm often offers little quality improvement and can create more problems than it solves.
Lastly, consider the filament you’re using. Materials like PLA usually work well with thinner layers, while PETG might require slightly thicker layers for better flow. Keeping a log of what works best for different materials will save you time and effort in future projects. By fine-tuning your settings and learning from your results, you’ll consistently achieve great prints.
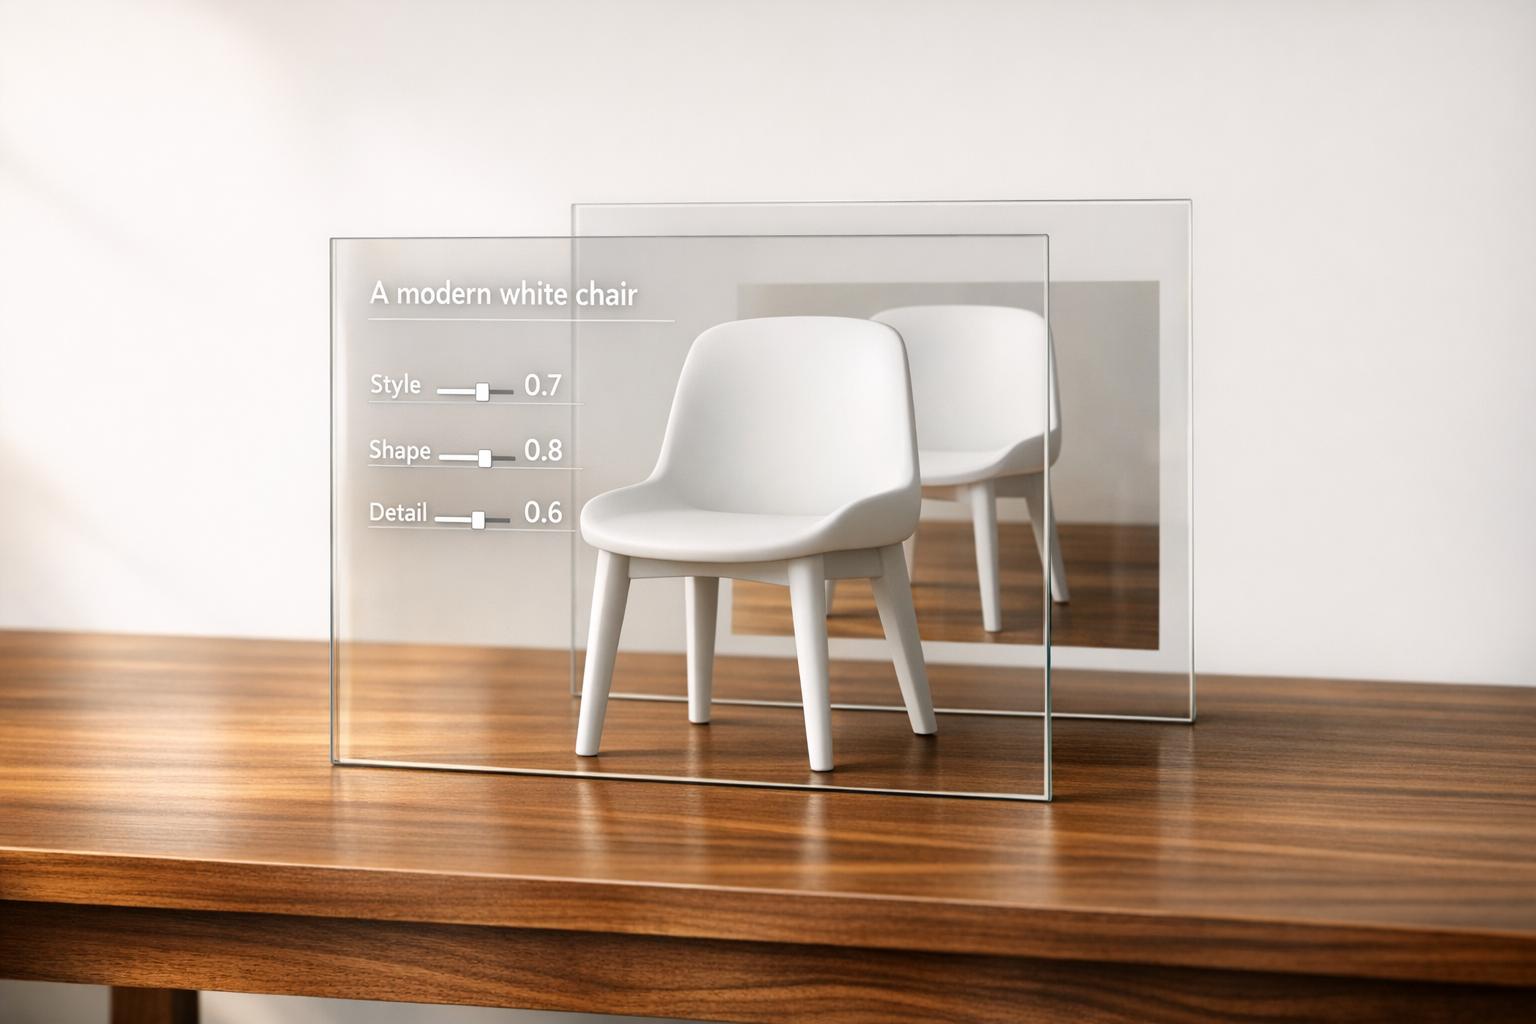
Using Sloyd to Prepare 3D Models for Printing

Getting the right 3D model is essential for matching your layer height and nozzle size, which directly impacts the quality of your prints. Sloyd's AI-powered platform simplifies this process by helping you create and prepare models that align perfectly with your printing setup. It eliminates common geometry errors, ensuring your models are tailored to your specific printing parameters, paving the way for accurate and durable results.
Template Library for Model Setup
Sloyd's 3D editor comes with a library of templates that feature optimized topology and geometry, making them ideal for 3D printing. Starting with these pre-optimized models reduces the need for tedious mesh repairs. Plus, real-time adjustment tools allow you to tweak size, shape, and thickness effortlessly using intuitive sliders and toggles. This means you can fine-tune every detail to suit your printing needs without hassle.
Each template is designed to maintain precise scaling and strong geometry. Thanks to Sloyd's procedural approach, any variations you make to the models retain these high-quality standards, letting you focus on designing parts that are reliable and functional.
AI Tools for Faster Model Creation
If templates aren’t enough, Sloyd’s AI tools offer even faster ways to create unique, print-ready models.
With the Image-to-3D AI, you can transform images into printable models in just one to two minutes. Meanwhile, the Text-to-3D AI lets you generate entirely new models from written prompts. Both tools are designed to ensure compatibility with various nozzle sizes and layer heights, making it easy to create models optimized for your specific printing setup. Whether you're converting a physical object or designing something from scratch, these tools streamline the process, delivering models ready for immediate printing.
Material and Printer Limitations to Consider
Start with the 25%-75% rule: your layer height should be between 25% and 75% of your nozzle diameter for optimal adhesion and print quality. For example, with a standard 0.4 mm nozzle, this means working within a 0.1 mm to 0.3 mm layer height range.
From there, fine-tune your layer height based on your project goals and the material you're using. Thinner layers are ideal for high-detail prints, while thicker layers speed up printing for functional parts. Some materials, like certain filaments, perform better with higher layer heights to reduce stringing, while others need lower heights for improved adhesion. Keep in mind that increasing the layer height from 0.16 mm to 0.28 mm can reduce PLA’s strength by up to 27%, so balancing speed and strength is key.
Sloyd simplifies model preparation with pre-optimized templates designed for clean topology and geometry. Since 2021, over 300,000 users have benefited from its AI-powered tools, which make it easy to create models that work seamlessly with any nozzle size or layer height. Whether you’re using the template library or customizing with AI tools, Sloyd helps you avoid common printing issues before they even occur.
FAQs
How does layer height impact the strength and durability of 3D printed parts?
Layer height plays an important role in shaping the strength and durability of 3D printed parts. When you use thinner layers, the parts often come out stronger. Why? Because thinner layers create more surface area between each layer, which leads to better bonding. This results in prints that are not only more durable but also have finer details and smoother finishes.
On the flip side, thicker layers can sometimes boost strength by improving adhesion between layers. However, this often comes at the cost of surface quality and detail. It's also worth noting that while thicker layers might speed up the printing process, they can reduce tensile strength. In contrast, thinner layers tend to produce parts with better overall structural integrity.
Ultimately, the "perfect" layer height depends on what you value most - whether that's strength, surface finish, or speed. Testing different settings is the key to finding what works best for your specific project.
How do I choose the right layer height for different 3D printing materials like PLA, ABS, or PETG?
Choosing the right layer height is all about balancing your material's characteristics with the level of detail you want in your print. For PLA, sticking to layer heights between 0.1 mm and 0.2 mm is a solid choice. It delivers fine detail while being easy to work with. ABS, on the other hand, benefits from slightly thicker layers, around 0.2 mm. This helps counter its tendency to warp and strikes a good balance between quality and speed. PETG offers more flexibility, handling layer heights anywhere from 0.1 mm to 0.3 mm. Just keep in mind that precise temperature control is key to achieving strong adhesion and minimizing stringing with PETG.
As a general rule, thinner layers give you sharper details and stronger prints, but they’ll also take longer to complete. Thicker layers, meanwhile, can save time but might sacrifice some of the finer details. Think about what your project needs and tweak your settings to match those priorities.
How do I calibrate my 3D printer's Z-axis to achieve the best layer height?
To fine-tune your 3D printer's Z-axis for the best layer height, start by setting the Z-offset. This adjustment ensures the nozzle is positioned at the right distance from the print bed, which is crucial for achieving a strong first layer and even layer heights. You can usually find the Z-offset settings in your printer's calibration menu or control panel.
Once the Z-offset is set, run a simple test print, like a single-wall square or rectangle. This will help you check the dimensional accuracy of your print. Carefully examine the printed piece and make small adjustments if needed to enhance alignment and precision. Regularly recalibrating the Z-axis, especially after switching filaments or doing maintenance, is key to maintaining consistent print quality and avoiding problems like uneven layers or poor bed adhesion.