You’ve done it. You typed a simple phrase into a text-to-3D generator, and like magic, a 3D model appeared on your screen. It's an exciting moment that opens up a world of creative possibilities. But what comes next? Generating the model is just the first step. To get your new asset ready for a game, animation, or render, you'll need to do a little post-processing.
This guide will walk you through the essential steps to take after you've generated a 3D model from text, transforming it from a raw output into a polished, project-ready asset.
First Look: Inspect and Refine
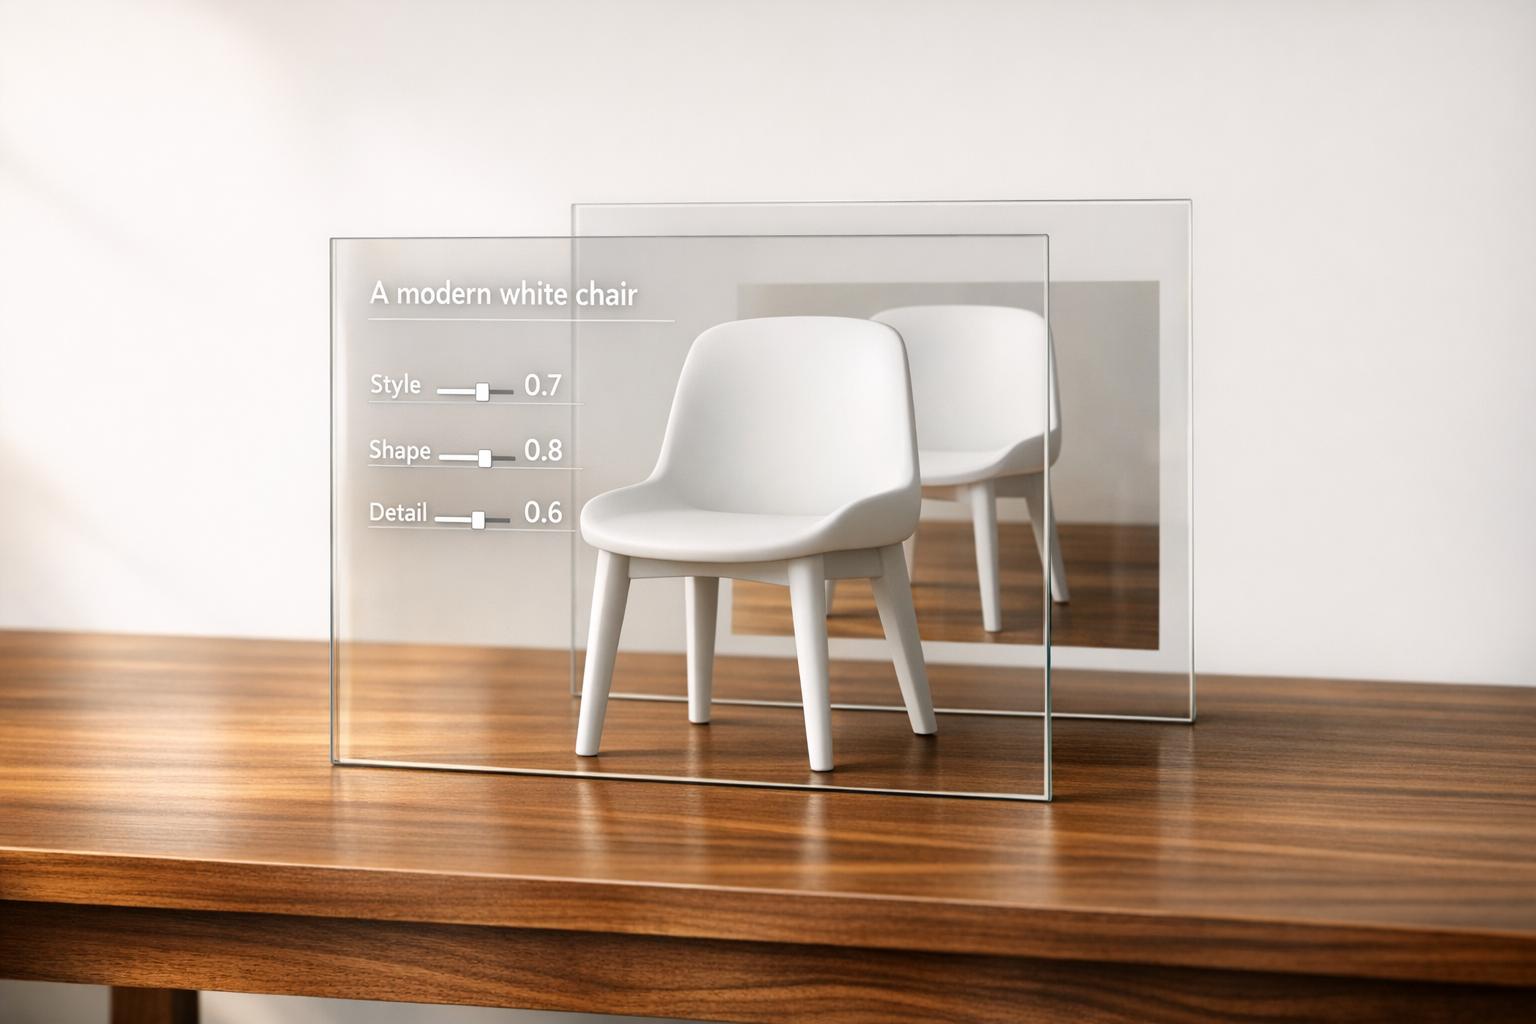
Before you export, take a moment to look at your newly created model. Does the geometry match your prompt? Is the overall shape what you envisioned? AI is powerful, but sometimes it takes a little guidance. If the model isn't quite right, don't be afraid to tweak your prompt and generate it again. Try adding more descriptive words or rephrasing your initial idea.
With a tool like Sloyd’s Text to 3D generator, you can rapidly iterate on your ideas until you get a result you love. The key at this stage is to get the base shape as close to your final vision as possible, which will save you a lot of manual editing time later.
Light Cleanup and AI 3D Editing
AI-generated models can sometimes have small imperfections, like stray vertices or messy geometry. While tools like Sloyd.ai are designed to produce clean, usable topology, it’s always good practice to know how to perform a light cleanup.
This is where a traditional 3D modeling program comes in handy. Blender is a fantastic, free, and open-source option that’s perfect for this task. You don’t need to be an expert to do basic cleanup. Import your model and look for any obvious issues. Simple functions like "Merge by Distance" can automatically weld together loose parts of the mesh, and "Recalculate Normals" ensures the model will be shaded correctly. Spending just a few minutes on this step can prevent major headaches down the line.
Bringing Your Model to Life with Textures
A model without texture is like a coloring book without crayons. Texturing is the process of applying color, detail, and material properties (like shininess or roughness) to your model's surface. To do this, your model needs something called "UVs" or a "UV map," which is essentially a flattened, 2D version of your 3D model that a texture can be applied to.
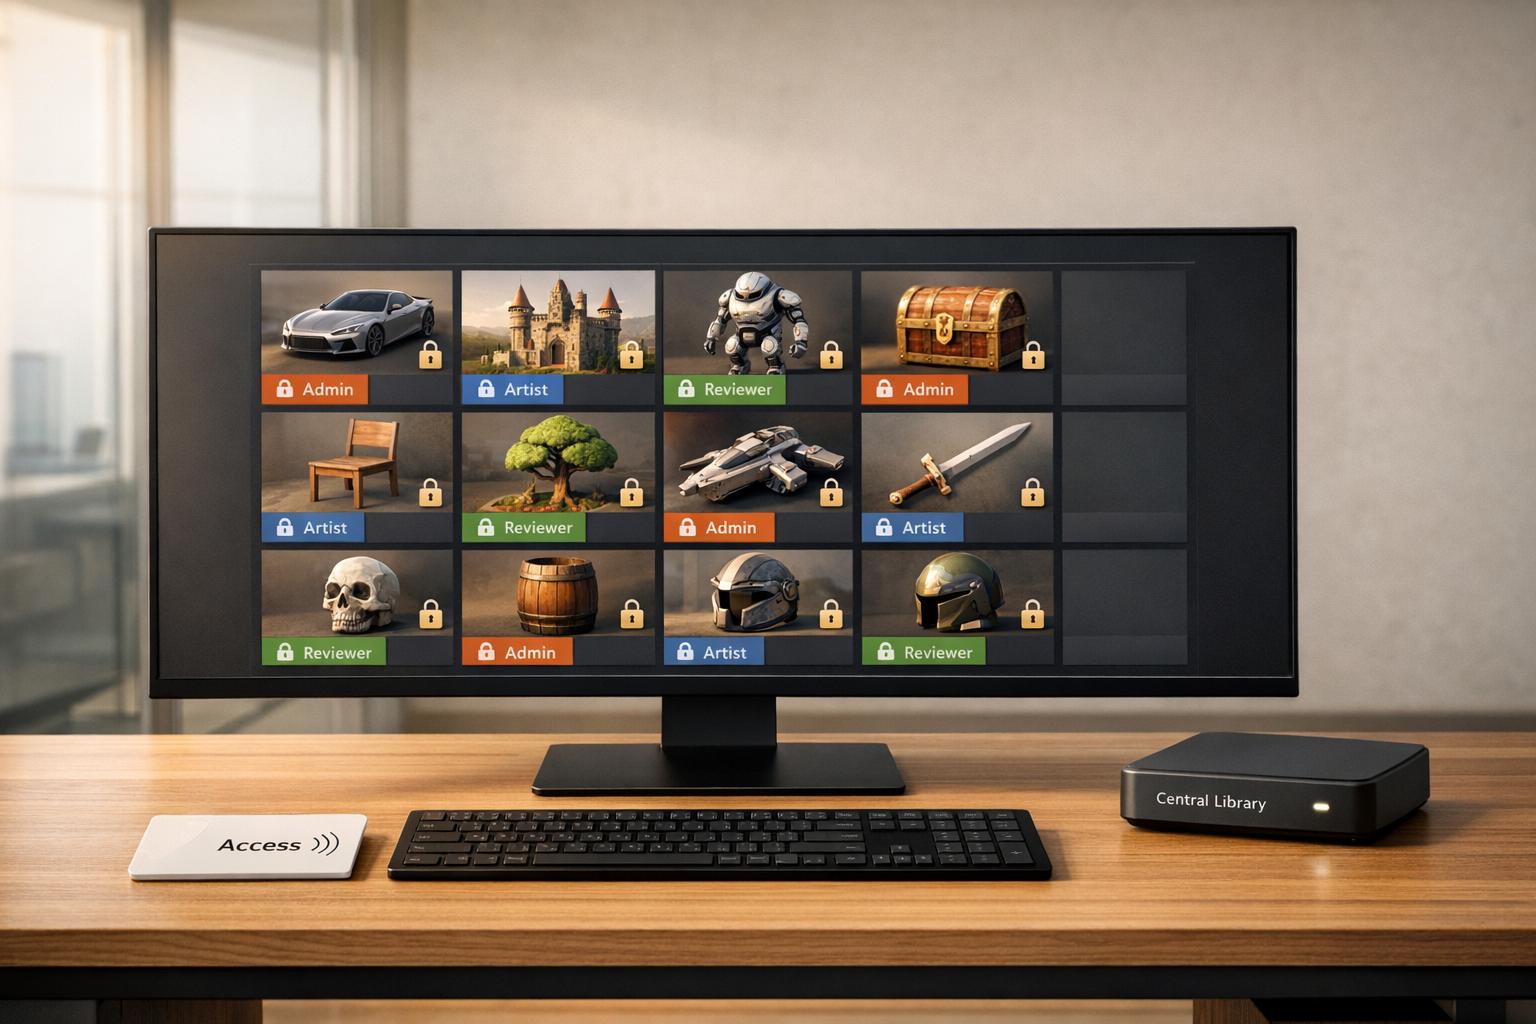
Manually creating UVs is one of the most tedious tasks in 3D modeling. Fortunately, many AI generators, including Sloyd, automatically create them for you! This is a huge time-saver and lets you get straight to the fun part.
You have a few options for texturing:
- Simple Materials: For many uses, you can simply apply basic color materials directly within your target software, like Unity or a rendering program.
- Image Textures: You can create your own textures in software like Photoshop or find pre-made ones online to apply to your model’s UV map.
- Advanced Texturing: For professional-quality results, dedicated software like Adobe's Substance 3D Painter allows you to paint intricate details directly onto your model.
Choosing the Right Export Format
Once your model is cleaned up and textured, it’s time to export it for use in your project. The file format you choose is important, as different formats are optimized for different applications. Here are the most common ones:
- GLB / glTF: This is the modern standard for web and real-time applications. Think of it as the JPG of 3D. It’s a compact, efficient format that packages the model, textures, and other data into a single file. Sloyd primarily uses this format, making it incredibly easy to get your models onto the web or into AR/VR experiences.
- FBX: The go-to format for game development and animation. It’s well-supported by game engines like Unreal Engine and can store complex data, including animations and material information.
- OBJ: One of the oldest and most widely supported formats. While it’s less efficient than GLB or FBX and doesn’t typically package textures within the file, its universal compatibility makes it a reliable choice for transferring static models between different software.
The journey from a simple text prompt to a finished 3D asset is incredibly rewarding. By following these post-generation steps, you can ensure your creations are polished and ready for any project you can dream up. Ready to start creating? Try generating your first model with Sloyd's Text to 3D or Image to 3D tools and see just how simple it can be.