Creating custom Minecraft builds can be time-consuming, especially when you’re placing blocks one by one. If you’ve ever wanted to build large or detailed structures more efficiently, using 3D models can dramatically speed up the process.
In this guide, you’ll learn how to use Sloyd to create 3D models and convert them into Minecraft builds step by step. This workflow is beginner-friendly and allows you to turn creative ideas into in-game structures without advanced building or modeling skills.
What is Sloyd and How Does it Work?
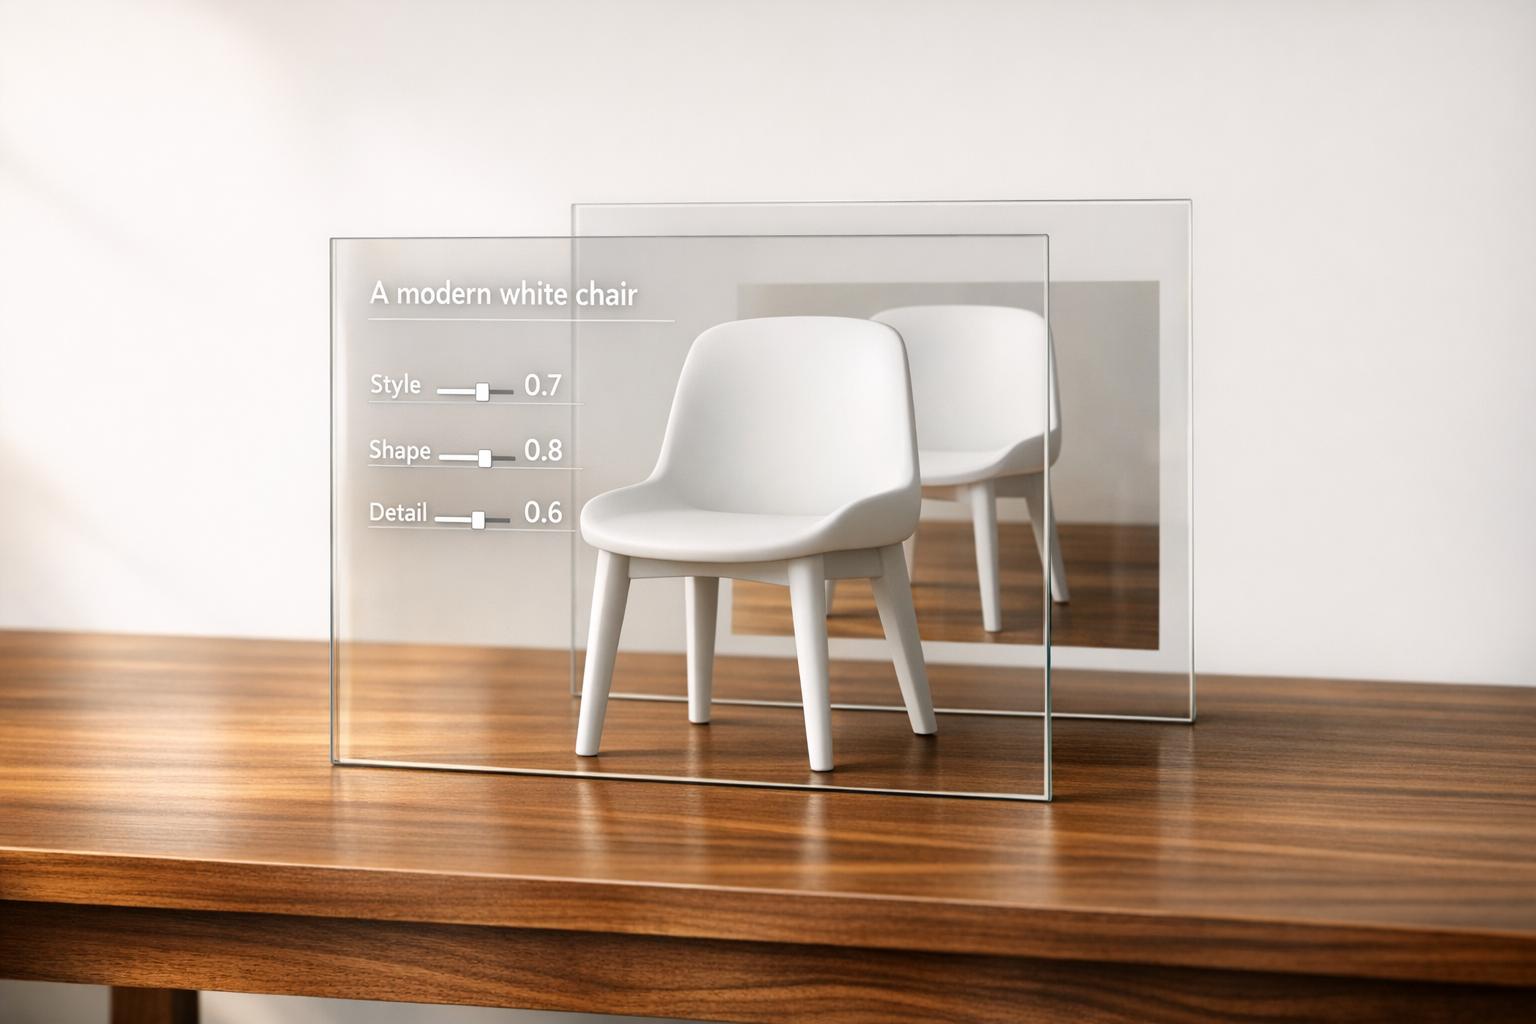
Sloyd is an AI-powered platform that makes creating 3D models faster and more accessible. By using simple prompts, you can create intricate 3D designs, which can then be exported and converted into Minecraft-compatible files. This eliminates the need to painstakingly construct every detail of a large build manually.
Here’s what makes Sloyd incredible:
- AI-Driven Modeling: Generate 3D models in minutes by describing your idea in a simple prompt.
- Artist designed, AI customized: Real artists made the Sloyd models, which AI is then able to customize for you. You can also customize manually to get exactly what you want.
- Seamless Exporting: Convert your designs to formats compatible with Minecraft.
- User-Friendly Integration: With a few tools and steps, you can place your builds directly into your Minecraft world.
Step-by-Step: Turning 3D Models into Minecraft Builds
1. Create Your 3D Model on Sloyd
Start by visiting Sloyd.ai and creating a free account. Once logged in:
- Navigate to the AI Prompt Tab.
- Describe your desired build (e.g., "a medieval castle" or "a futuristic tower").
- Let Sloyd generate a 3D model that matches your description.
- Use sliders, toggles or the AI editing to customize the model to your liking.
2. Export the Model as a .GLB File
Once your model is ready:
- Download it as a .glb file, which is a common format for 3D models.
- Make sure to select the option "GLB for Minecraft", as this exports the model as a single mesh, making it ready for the next step of converting it to a schematic file.
3. Convert the Model to a Minecraft-Compatible File
To use the model in Minecraft, you need to convert it into a .lightmatic file:
- Visit https://objtoschematic.com/.
- Upload your .glb file and follow the simple steps on the site.
- Export the result as a .lightmatic file.
4. Import the Build into Minecraft
Now it’s time to bring your creation to life in Minecraft:
- Place the .lightmatic file into your Minecraft schematics folder.
- This folder is used by the Litematica mod, a popular tool for handling large builds.
- Launch Minecraft and open Litematica.
- Locate your schematic and place it anywhere in your world.
Why Use Sloyd for Minecraft?
- Save Time: Build enormous structures in minutes instead of hours.
- Enhanced Creativity: Focus on your ideas and designs instead of tedious construction.
- Beginner-Friendly: Even players with minimal building skills can create professional-level builds.
Unlock Your Minecraft Potential with Sloyd
With tools like Sloyd, you can take your creativity in Minecraft to new heights. Whether you're designing for personal satisfaction or showing off your builds on a server, this process empowers you to create without limits.
Ready to take your Minecraft experience to the next level? Try Sloyd.ai today!