Visiting a castle, snapping a photo, and turning it into a tabletop-ready 3D miniature is no longer a fantasy. With tools like Sloyd’s Image-to-3D, even beginners can go from a phone snapshot to a printable model in minutes. In this guide, you’ll learn how to shoot better photos, turn them into 3D models, and prepare them for printing—no 3D modeling experience required.
Why Turn Travel Photos into 3D Miniatures?
💾 Physical Keepsakes from Digital Memories
Instead of letting your vacation photos sit on your phone, you can turn them into real objects. A tower you walked past in Prague, a statue in Rome, or even a quirky doorway in Lisbon can become a painted prop for your shelf or DnD session.
🧱 Custom Terrain for Tabletop Gaming
These kinds of prints make great backdrops or unique terrain pieces for miniature games. Since tools like Sloyd generate clean, watertight models, there’s no need for complex 3D modeling skills.
🛠️ No Blender Skills Required
The process is simple enough that anyone can do it. You’ll get export-ready .STL, .OBJ, or .GLB files that work with most slicers and 3D printing services.
What You Need
Step-by-Step Guide
1. Take Good Photos
- Use indirect daylight—cloudy days are ideal.
- Shoot straight-on if possible.
- Avoid heavy shadows, people in front, or busy backgrounds.
- Capture more than one angle if you can (front, side, 3/4 view), so you can test which one produces the best results.
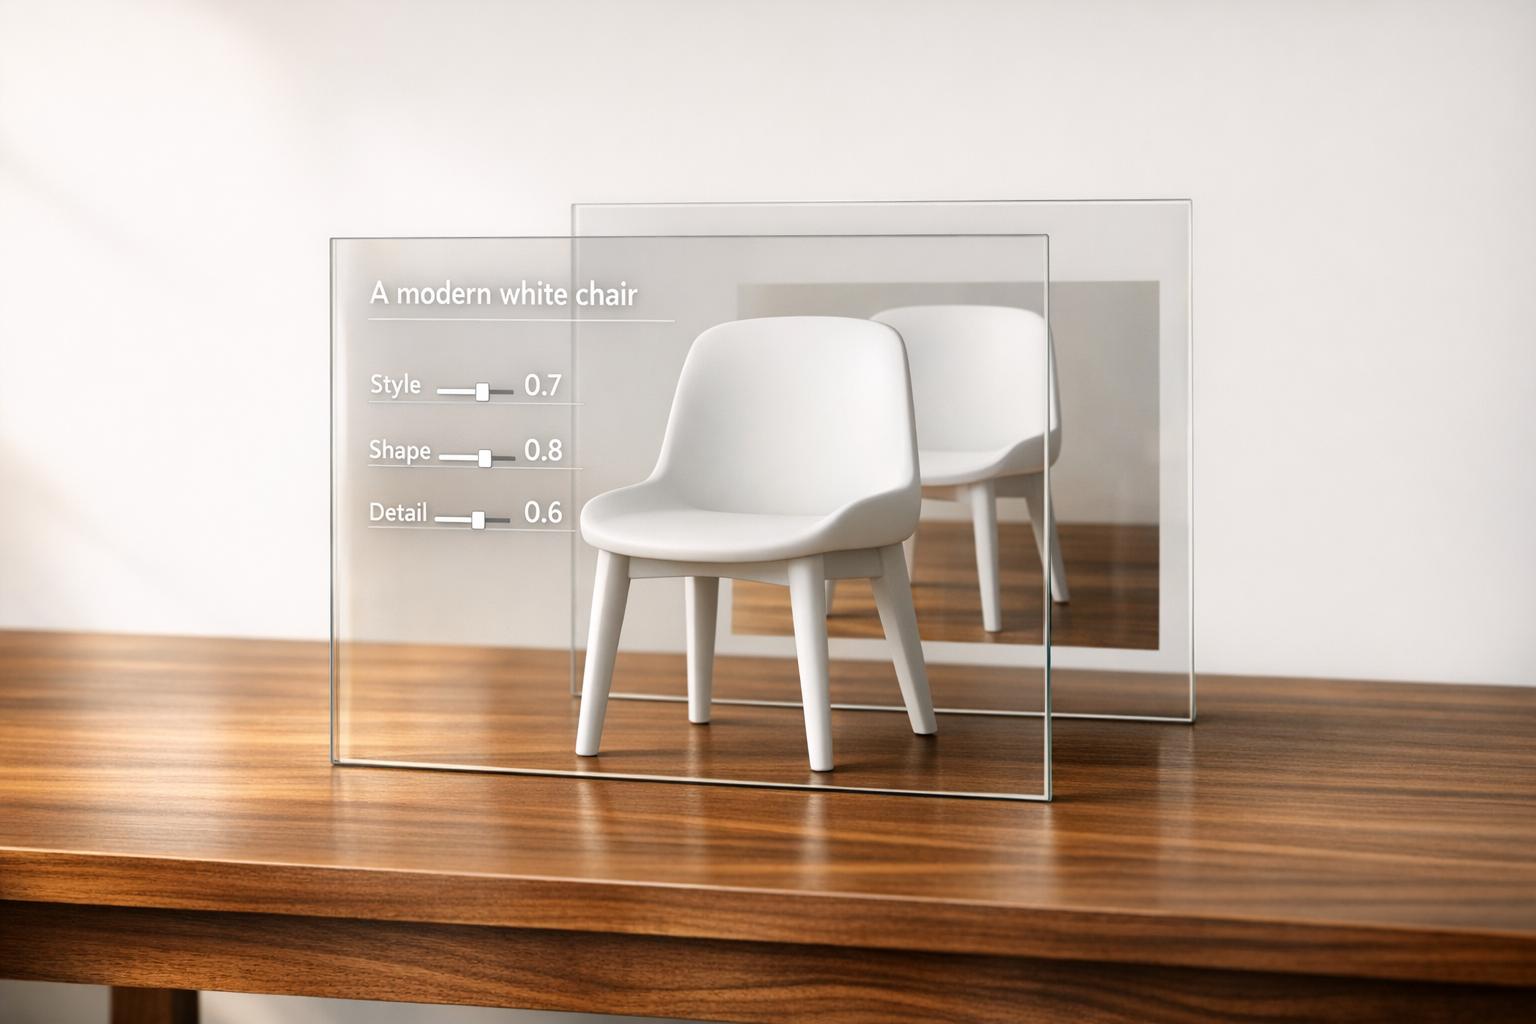
2. Generate the 3D Model
- Go to Sloyd’s Image-to-3D.
- Drag in your photo.
- Within 60 seconds, you’ll see a 3D preview.
- Optionally adjust size and thickness for better printing.
3. Optimize Your Model
- Check for rough edges or extra noise.
- Sloyd’s tool outputs clean, game-ready meshes, but it’s always good to preview before print.
- If your slicer warns about mesh issues, re-upload or scale down slightly.
4. Export and Slice
Export from Sloyd, open your slicer (like PrusaSlicer or Cura), and prepare the file based on your printer’s specs.
5. Print and Finish
- Use resin for fine architectural detail (great for 28mm scale).
- Use filament for larger props or rougher surfaces like ruins.
- Once printed, sand lightly, prime, and paint with acrylics.
- If you're new to painting miniatures, the r/minipainting subreddit is full of great tips.
Stay Connected While Traveling
If you’re capturing, uploading, and generating models while on the go, a local SIM can be limiting—especially when hopping between countries. A Europe tourist esim offers fast, affordable data across Europe (and beyond), so you can generate and share 3D files from anywhere without relying on patchy Wi-Fi.
Final Thoughts
With the right photo, a solid workflow, and a few clicks in Sloyd, you can create custom 3D-printed souvenirs from your travels—no Blender required. Whether you’re building diorama scenery, DnD terrain, or just something cool for your shelf, this is one of the most fun and creative ways to bring your memories to life.