How to Prepare a 3D Model for 3D Printing (Step-by-Step Guide)
Learn how to prepare a 3D model for 3D printing with a step-by-step checklist covering scale, wall thickness, mesh fixes, and print-ready exports
How exciting isn't it to see your creation come to life in the real world? The ability to turn digital models into physical objects opens up countless creative possibilities.
In this guide, we'll walk you through the process of preparing a 3D model for 3D printing. Whether you're a beginner or an experienced creator, these steps will help ensure a successful and high-quality print!
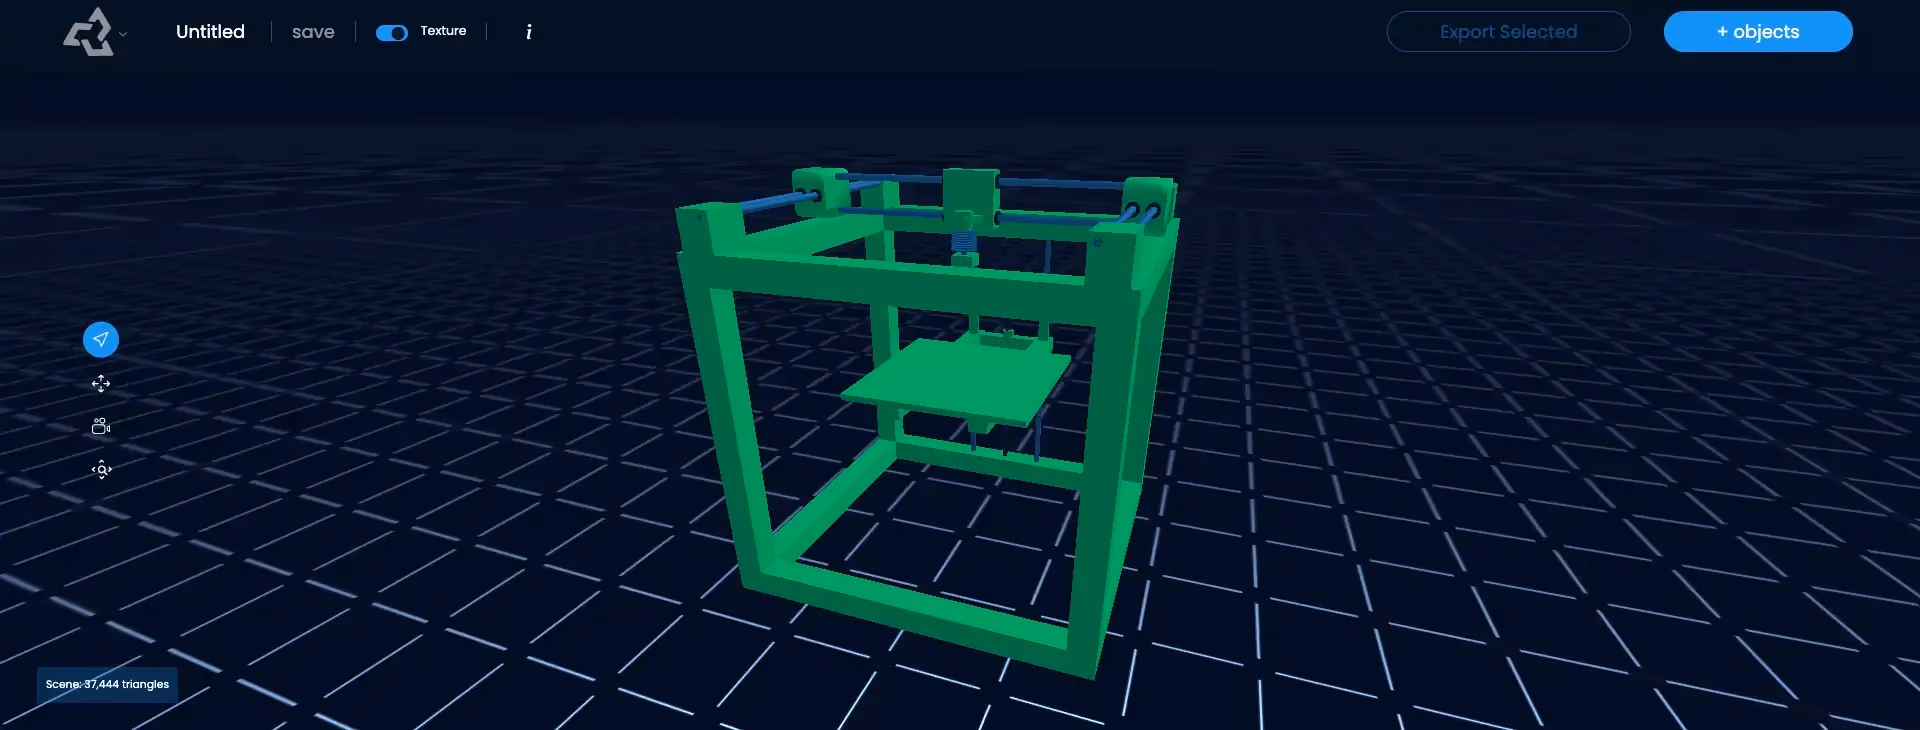
1. Create free 3D printing models in Sloyd
With Sloyd, its easy to customize 3D models to your liking - no 3D modeling experience needed!
Make sure to think of a few things when preparing them for print:
- Add extra thickness to the model to ensure they don't break
- Simply ask the AI to "add thickness" to the model!
- Think of "floating" parts, and customize the model in a way that a 3D printer can print
- Export using .stl. This ensures the most compatibility with printing software.
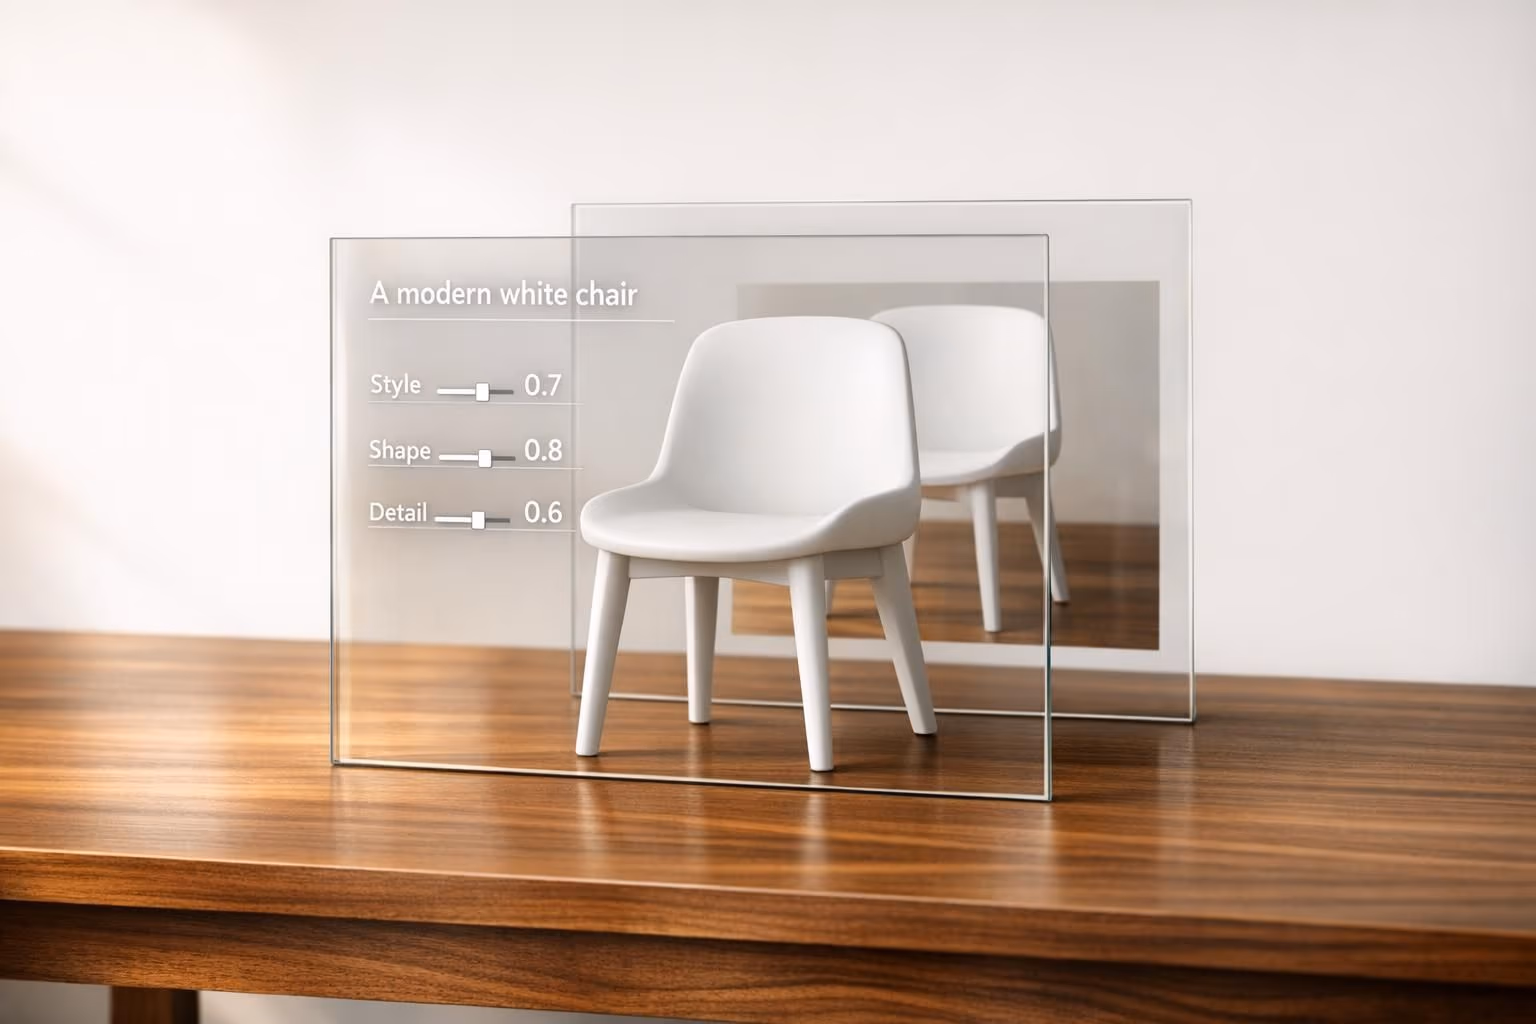
Use text-to-3D for creating 3D models for printing
Sloyd supports simple text input for creating and customizing your models. Ask the AI for the type of object you want, then use AI editing to refine it.
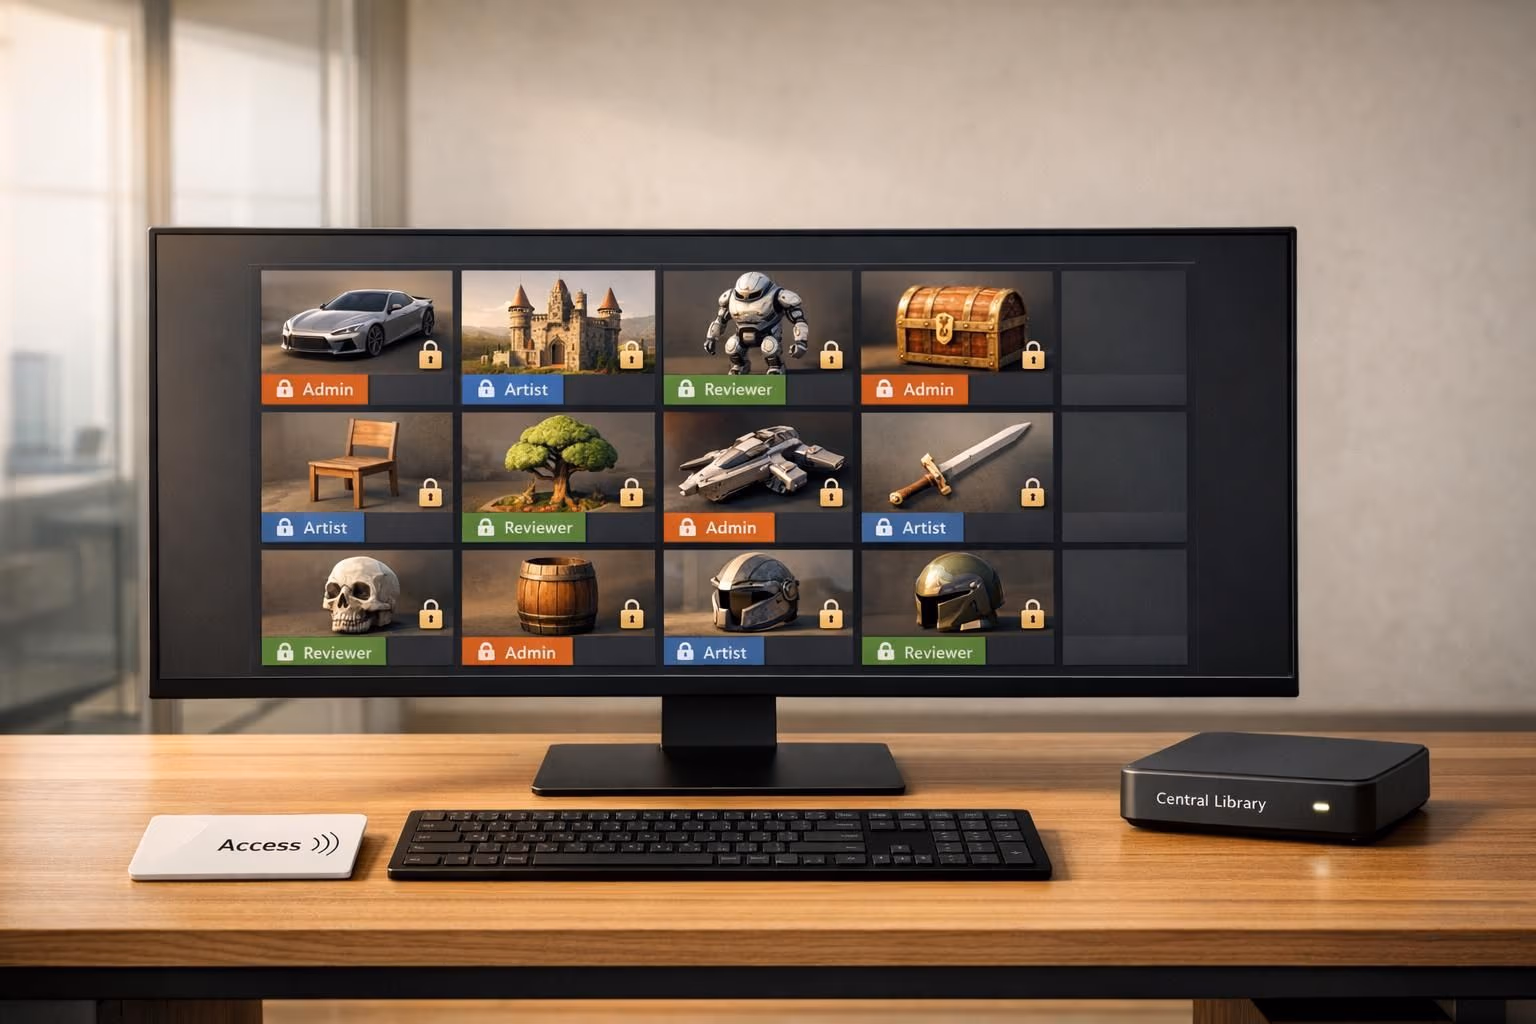
Objects for 3D printing
You can create a wide variety of objects for 3d printing in Sloyd. The only thing to stay clear of is models of animals, humans, and creatures.
Sloyd Editor supports props, buildings, weapons, vehicles, and similar objects.
Image to 3D AI
If you already have an image and you want to generate a 3D model you can also use image-to-3D and get a 3D model within minutes.
2. Selecting the Ideal 3D Printing Software
Choosing the right software is your first step towards successful 3D printing. User-friendly software such as Ultimaker Cura or PrusaSlicer simplifies the process, making importing, scaling, and slicing your model effortless.
- Research and download a user-friendly 3D printing software like Ultimaker Cura or PrusaSlicer.
- Install the software on your computer following the provided instructions.
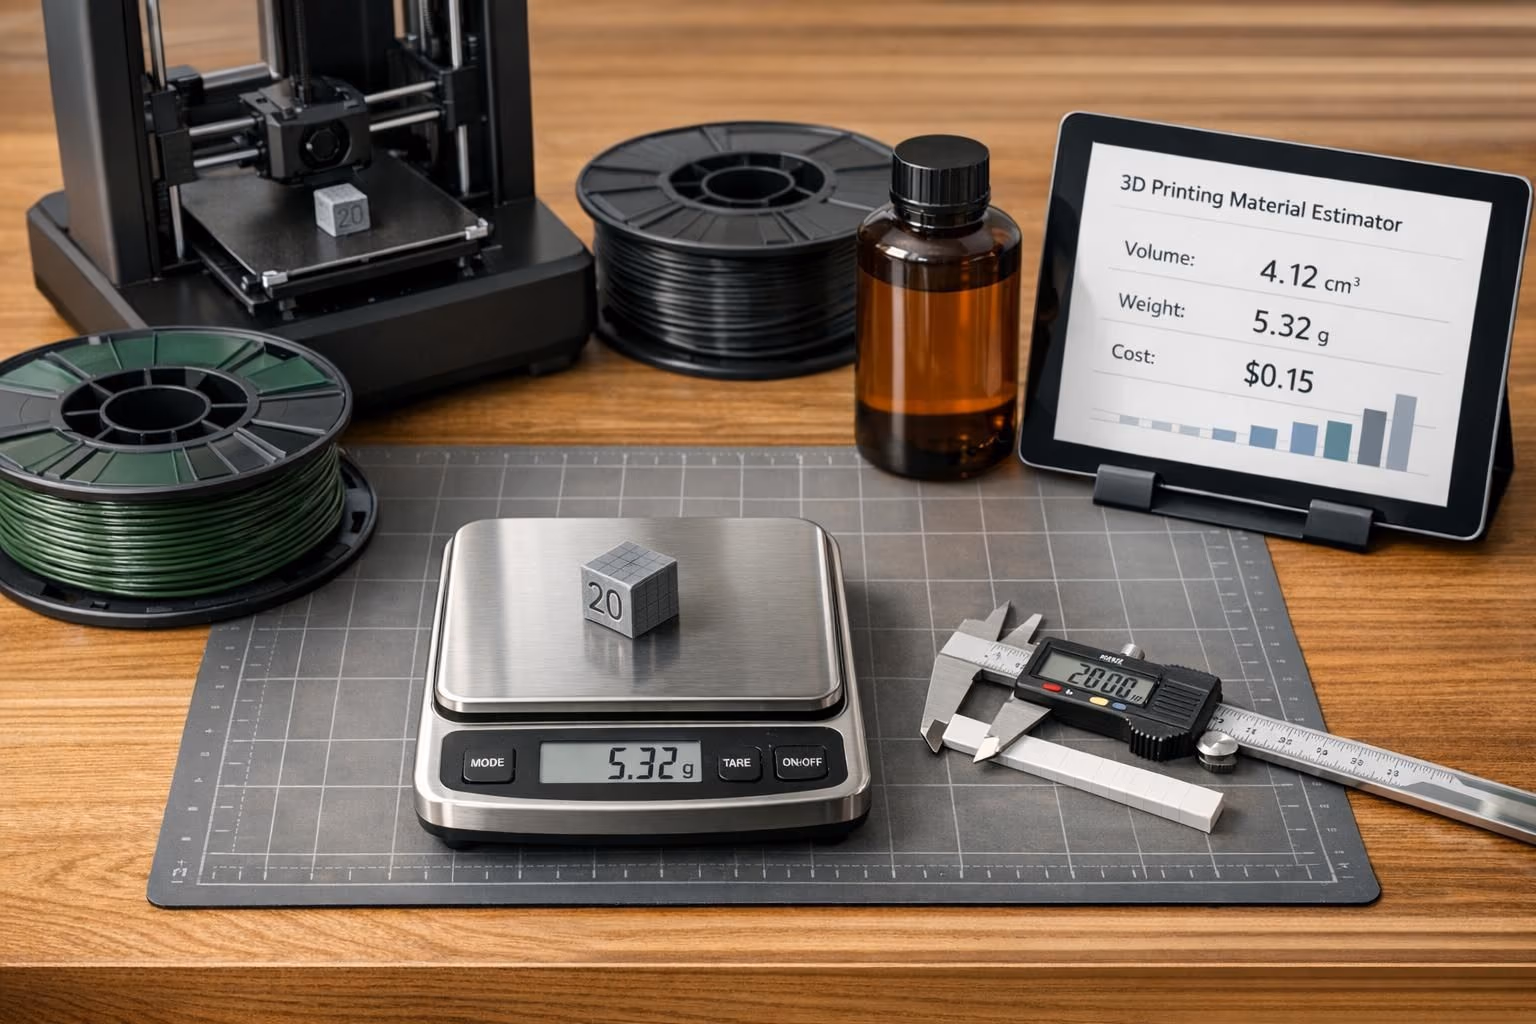
3. Optimizing Scale for Accurate Printing
Precision matters in 3D printing. Adjusting the scale of your model guarantees it fits within your printer's build volume and achieves the intended size.
- Use the software's measuring tools to confirm the dimensions of your model.
- Adjust the scale settings to achieve the desired size while considering your printer's limitations.
4. Thorough Mesh Inspection and Repair Techniques
A meticulous mesh inspection prevents printing issues caused by flawed geometry. Repairing non-manifold edges and intersecting faces guarantees your model is print-ready.
- Utilize the software's mesh analysis tools to identify problematic geometry.
- Use the repair features to fix non-manifold edges, overlapping faces, and other issues in the mesh.
5. Optional: Hollowing the Model for Efficiency
Hollowing your model conserves material and reduces print time without compromising structural integrity.
- Identify the sections of your model that can be hollowed without sacrificing strength.
- Use the software to create a shell, leaving an appropriate thickness for stability.
6. Precise Placement of Supports for Stability
Supports prevent print failures caused by overhangs and ensure stability during printing.
- Identify areas of your model that require supports based on overhang angles.
- Either enable the software's automatic support generation or manually add supports as needed.
7. Exporting Configurations for Seamless 3D Printing
Configuring print settings optimizes print quality and speed. Exporting as a G-code file provides printer-specific instructions.
- Adjust print settings such as layer height, infill density, and print speed.
- Export the model as a G-code file using the software's export function.
8. Initiating the 3D Printing Process
Transferring the G-code file to your 3D printer and initiating the print brings your creation to life.
- Transfer the G-code file to your 3D printer using a USB drive or network connection.
- Load the appropriate filament and calibrate the printer if necessary.
- Begin the printing process and monitor its progress closely.
By following these steps, your 3D model evolves from a digital concept into a tangible masterpiece!
Whether you use Sloyd to generate and customize your models, or traditional software like Blender, Maya, and SketchUp, make sure to embrace experimentation and the unique attributes of each printer and software to unleash your creative potential.
Happy printing!