How to Bake Textures in Unity for High-Quality Game Assets
Fix common Unity texture baking issues. A practical workflow to optimize game assets and improve visual quality and performance.
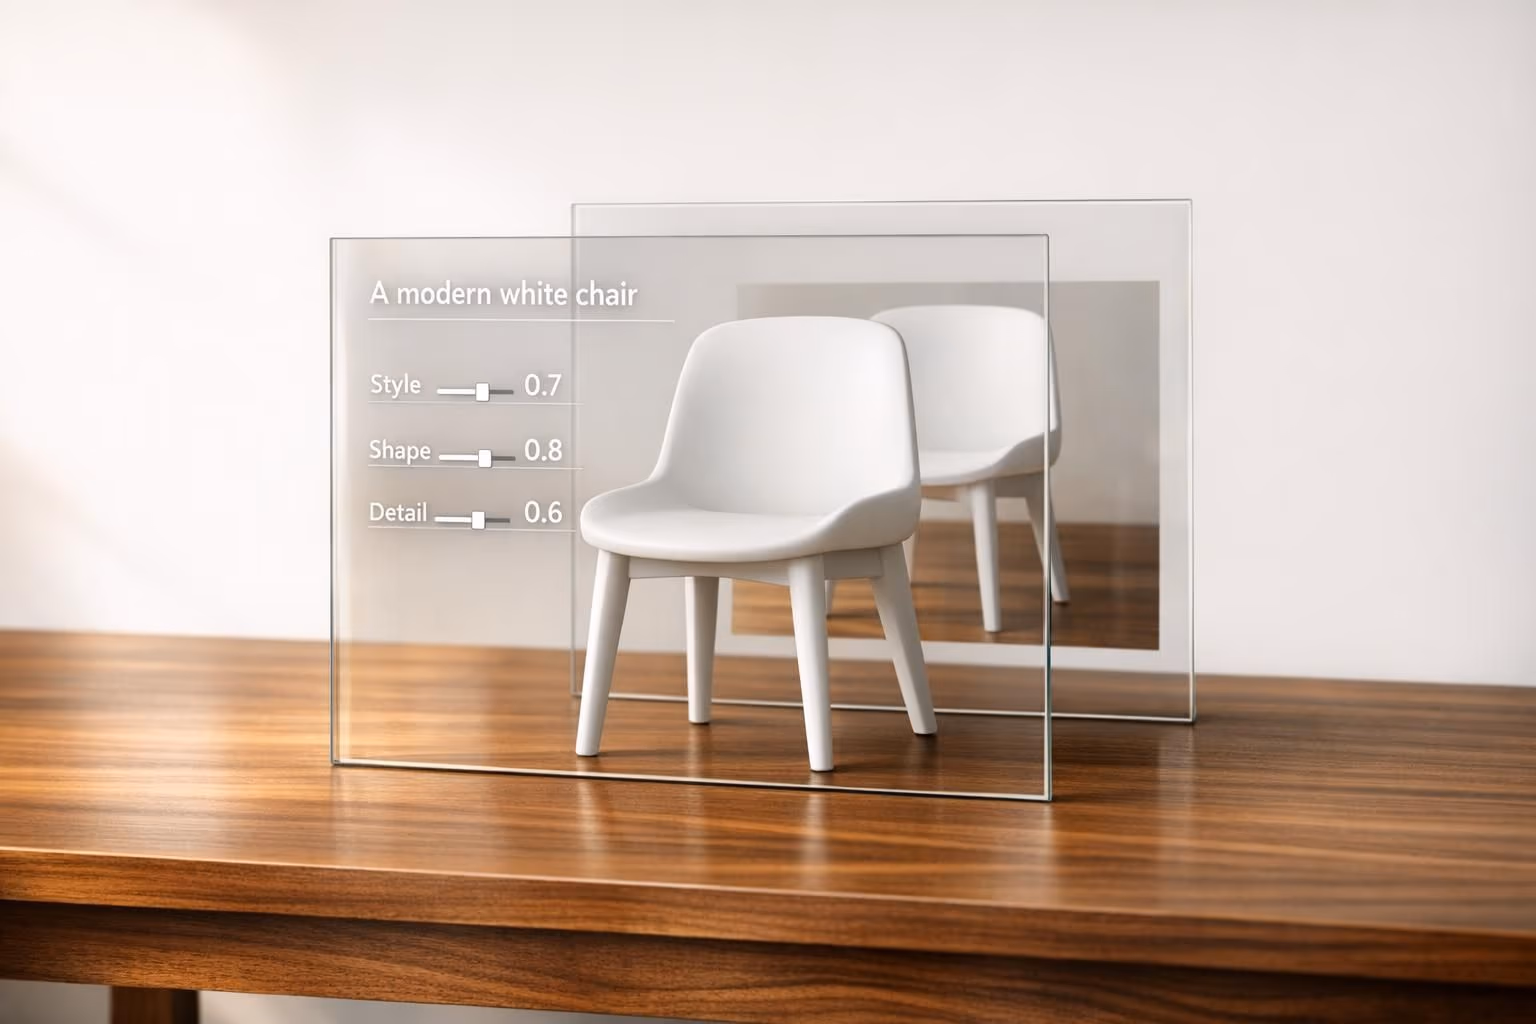
Texture baking in Unity is a process that transfers detailed surface information from high-poly 3D models to low-poly versions using 2D texture maps like normal, ambient occlusion, and albedo maps. This technique enhances visual quality while keeping game assets optimized for performance, making it essential for mobile, VR, and hardware-limited platforms.
Here’s what you need to know:
- Why it matters: It reduces runtime calculations, lowers GPU load, and improves frame rates without adding extra geometry.
- Key steps: Prepare high-poly and low-poly models, create clean UV maps, and align assets properly in Unity.
- Tools: Use external software like Blender, Substance Painter, or plugins like Mesh Baker for better baking results.
- Common issues: Visible seams, black spots, or blurry textures often stem from poor UV mapping or alignment errors - fix these with proper preparation and padding.
- Optimization tips: Balance texture resolution (e.g., 512x512 for props, 2048x2048 for hero assets), use texture compression, and enable mipmaps for better performance.
Tools like Sloyd simplify the process with game-ready models that reduce manual work and errors. Proper baking ensures detailed visuals and smoother gameplay, making it a must for efficient game asset development.
Preparing Game Assets for Texture Baking
Setting Up Your 3D Model
The foundation of successful texture baking lies in preparing both high-poly and low-poly versions of your asset. The high-poly model contains all the intricate surface details - like beveled edges, scratches, and ornamental patterns - while the low-poly model is optimized for real-time rendering with fewer polygons.
When importing these models into Unity, ensure they are perfectly aligned in position and scale. The high-poly model should represent every detail you want baked into the textures, while the low-poly model must retain the overall shape of the high-poly version without unnecessary complexity.
Pay close attention to mesh normals during this process. Unity’s default settings can sometimes flip or recalculate normals, leading to unwanted artifacts in the bake. Double-check that all normals face outward and remain consistent across the mesh.
With your models properly aligned and normals verified, the next step is creating UV maps that effectively capture the high-poly details.
Creating Proper UV Maps
UV mapping can make or break your texture baking workflow. For the low-poly model, you’ll need clean, non-overlapping UV coordinates that maximize the use of available texture space. Poor UV layouts can lead to blurry textures, visible seams, and wasted resolution.
Ensure your model has a consistent texel density - this means all parts of the model should have a uniform texture resolution. Uneven texel density can cause certain areas to appear sharper or blurrier than others, disrupting the visual quality.
Avoid creating tiny or overly narrow UV islands, as these won’t capture enough detail from the high-poly model. Instead, combine smaller elements into larger islands where possible and allocate more UV space to visually important areas.
Seam placement is another critical consideration. Place seams along natural edges or hidden areas to minimize visible texture breaks. Prominent surfaces should remain free of seams to maintain a seamless appearance.
Unity’s built-in UV viewer is a helpful tool for spotting issues like overlapping UVs (highlighted in red) or stretched areas that could distort textures. For more advanced UV editing, consider using external 3D software, as it often provides better tools for handling complex models.
Once your UV maps are optimized, you’re ready to organize your assets in Unity for a smoother baking process.
Organizing Assets in Unity

A well-structured folder system in Unity will save you a lot of time and headaches. Separate your assets into folders like Models/HighPoly, Models/LowPoly, Textures/Source, and Textures/Baked. This keeps everything tidy and easy to locate.
Use consistent naming conventions for your models and texture maps. For example, name the low-poly version "Crate_LP", the high-poly version "Crate_HP", and the resulting normal map "Crate_Normal_1024." Descriptive names help avoid confusion, especially when working with multiple assets.
Adjust Unity’s import settings based on the model type. High-poly models used only for baking don’t need optimized import settings, so disable mesh compression and retain higher precision. For low-poly models, stick to Unity’s standard optimization settings since these will be used during runtime.
To streamline your workflow, create prefabs for low-poly models with placeholder materials. This allows you to test placement and scaling within your scenes while waiting for the final baked textures. Once the textures are ready, you can easily swap in the finished materials.
Finally, standardize your texture resolutions across assets. For example, props might use 512x512 or 1024x1024 textures, while key objects could require 2048x2048 for added detail. Document these standards to ensure consistency throughout your project and among your team members.
Texture Baking Tools and Methods
Using External Tools for Texture Baking
External software provides advanced features and greater control for texture baking, making it a preferred choice for many developers. Blender, a free and versatile tool, supports all major map types. With its Cycles render engine, you can generate maps like normal, ambient occlusion, roughness, and metallic by transferring details from high-poly to low-poly models.
Another standout option is Substance Painter, which excels at both texture baking and painting. Its smart projection system handles cage generation automatically, ensuring high-quality results even for complex geometries. Plus, it can bake multiple map types simultaneously, keeping everything consistent.
For 3ds Max users, the Flatiron plugin is a powerful addition. It specializes in batch processing, making it ideal for handling large asset libraries. Flatiron can process entire scenes automatically, applying consistent settings throughout.
When exporting baked textures, use uncompressed formats like PNG or TIFF, and apply platform-specific compression later in Unity. The general process involves preparing your high-poly and low-poly models in the external tool, setting up bake parameters (such as sample counts and ray distances), and exporting the texture maps for use in Unity. These external tools complement Unity's native solutions, offering a robust and flexible workflow.
Unity Baking Plugins and Scripts
For those who prefer to stay within Unity, several plugins and scripts allow for direct texture baking inside the engine. Mesh Baker is a popular choice, combining mesh optimization with texture baking. It’s particularly helpful for tasks like atlas generation and reducing draw calls.
Another option is the Bakery GPU Lightmapper, which focuses on lightmap baking but also includes features for generating ambient occlusion. By using GPU acceleration, it dramatically reduces baking times compared to Unity's built-in lightmapper.
Custom C# scripts can also be a game-changer, automating repetitive tasks like batch processing multiple assets or creating workflows tailored to specific project needs. However, Unity-based solutions often fall short when it comes to more intricate material baking or achieving top-tier quality. This is why many developers rely on Unity plugins for quick iterations - such as lightmap baking or simple ambient occlusion - while turning to external tools for more detailed texture baking tasks.
The biggest advantage of Unity-based solutions is their seamless integration with your project. They let you bake textures without leaving Unity, making it easier to test and refine assets directly within your game scenes.
Baking Different Map Types
No matter which tools you use, understanding the role of each map type is crucial for creating high-quality textures:
- Albedo maps represent the base color of an asset without any lighting. Focus on capturing the material's true colors and surface details, but avoid including shadows or highlights, as Unity's lighting system handles those.
- Normal maps add surface detail and depth without increasing the polygon count. This is essential for maintaining visual quality on low-poly models. Pay attention to tangent space settings and use enough samples to avoid noise.
- Roughness maps control how reflective or glossy a surface appears. Lighter areas represent rough, matte surfaces, while darker areas indicate smoother, shinier ones. These maps play a key role in making materials look realistic under different lighting conditions.
- Metallic maps distinguish between metallic and non-metallic surfaces. White indicates metallic, black is non-metallic, and gray values are used sparingly for specific effects like oxidization.
- Ambient Occlusion (AO) maps add depth and subtle shadowing to assets. They work well when multiplied with albedo textures or applied in Unity’s detail mask slots to enhance surface definition without adding rendering overhead.
To optimize performance, ensure consistent resolution and UV layouts across all maps. You can also pack maps like roughness, metallic, and AO into separate color channels to save memory. For most assets, a resolution of 1,024x1,024 pixels works well, but hero assets or objects meant for close-ups may need 2,048x2,048 pixels to capture finer details.
Importing and Applying Baked Textures in Unity
Importing Baked Textures
To import baked textures into Unity, use formats like PNG or TIFF to retain as much detail as possible. Simply drag your textures into Unity's Project window to get started.
While Unity usually detects texture types automatically, it’s always a good idea to double-check the settings in the Inspector. For normal maps, make sure to change the Texture Type to "Normal map" right after importing. This step is essential to avoid rendering issues and ensures Unity interprets the texture data correctly.
For albedo textures, stick with the "Default" texture type and keep sRGB enabled. On the other hand, metallic and roughness maps require sRGB to be disabled since they store data rather than color information. When it comes to resolution, start with 1,024x1,024 pixels for most assets. For hero objects or assets that players will see up close, consider increasing the resolution to 2,048x2,048 pixels.
Unity applies texture compression automatically, but you can tweak these settings depending on your target platform. For desktop builds, higher-quality compression works well, while mobile projects benefit from more aggressive compression to save memory and improve performance.
Once your textures are set up, it’s time to configure your Unity materials.
Setting Up Unity Materials
To assign your baked textures, you’ll need to set them up in Unity’s Standard shader. Start by creating a new material: right-click in the Project window and select Create > Material.
With the material selected, assign your textures to the appropriate slots. Place your albedo map in the main texture slot, and your normal map in the Normal Map slot. For a metallic workflow, assign the metallic map to the Metallic slot and the roughness map to the Smoothness slot. If your roughness data is stored in the alpha channel of the albedo map, adjust the Smoothness slider to "Albedo Alpha."
Most baked textures use a 1,1 tiling setup. However, if your UV coordinates don’t match perfectly, you may need to tweak the offset values.
The Emission slot is especially useful for baked lighting effects or glowing elements. Keep emission values low - around 0.1 to 0.5 - to avoid overpowering Unity's real-time lighting system unless you’re going for a dramatic effect.
If you’re using tools like Sloyd’s 3D editor, you’ll benefit from clean topology and well-optimized UV maps, making the baking and import process into Unity much smoother. Its game-ready outputs reduce the need for manual adjustments and work seamlessly with Unity’s material system.
With your materials ready, the next step is optimizing textures to ensure good performance.
Optimizing Textures for Performance
Balancing texture resolution with asset importance is key to maintaining performance. For environment props, resolutions rarely need to exceed 512x512 pixels. Character assets, however, often require at least 1,024x1,024 pixels or higher, especially for models that appear prominently on screen.
Unity’s texture streaming feature can help manage memory usage in larger projects. You can enable this in the Quality Settings to ensure high-resolution textures load only when necessary. This is especially useful for open-world games or projects with numerous detailed assets.
To reduce draw calls, consider atlasing smaller, similar textures. For 2D elements, Unity’s Sprite Packer can automate this process, while third-party tools are available for atlasing 3D textures.
Unity automatically applies compression formats based on your target platform. Desktop builds generally use DXT compression, while mobile platforms rely on formats like ASTC or ETC2. Always test your materials on the target device to ensure the textures look good after compression.
To improve performance and maintain visual quality across different viewing distances, enable mipmap generation for most textures. However, disable mipmaps for UI textures or assets that always appear at full resolution. Unity generates mipmaps by default, but you can also import custom ones if you need more control over how textures appear at varying distances.
For mobile projects, using 16-bit textures for normal and single-channel maps can significantly cut memory usage in half without sacrificing noticeable quality.
Fixing Common Texture Baking Problems
Common Texture Baking Issues
One of the biggest headaches in texture baking is dealing with visible seams. These occur when UV islands aren't aligned properly or lack enough padding. To tackle this, increase the padding in your baking software and ensure UV islands are oriented consistently. Placing seams in less noticeable areas can also help minimize their visual impact.
Another frequent issue is the appearance of black spots or strange artifacts, which often show up as dark patches or gradients on your baked textures. These problems usually stem from poor alignment between your high-poly and low-poly models or incorrect cage settings. Adjusting the ray distance and extending the cage slightly beyond your low-poly mesh - without letting it intersect the geometry - can resolve these issues.
Blurry or low-resolution textures are another common frustration. This typically happens when texel density varies across assets or when the baking resolution is too low. To avoid this, start with high-resolution source textures and scale down as needed. This ensures finer details are preserved in the final result.
Normal map distortions can also cause lighting issues, making surfaces appear oddly bumpy or uneven. This often occurs due to mismatched tangent space settings between your baking tool and Unity. To fix this, make sure the same tangent space format is used throughout your workflow and double-check that Unity correctly imports your normal maps.
Finally, if details are missing in your baked textures, it may be due to low-poly geometry or poor projection settings. Adding edge loops or tweaking the projection distance can help capture those finer details.
Tips for Consistent Results
Consistency is key to achieving polished, professional-looking baked textures. One way to ensure this is by maintaining a uniform texel density across all assets. Calculate a pixels-per-unit ratio for your main assets and apply it consistently throughout your project.
Here are some additional tips for reliable results:
- Ensure UVs are clean, non-overlapping, and have adequate padding.
- Stick to a uniform texel density for all assets.
- Follow a standardized naming convention for baked maps.
- Preview bakes in both your baking software and Unity to catch issues early.
- Start with high-resolution textures and downscale for optimization.
- Document your baking settings for reuse on similar assets.
Batch processing similar assets can save time and ensure uniformity. For example, when working on environment props like barrels, crates, or furniture, using the same settings for all similar objects helps maintain a cohesive visual style.
It’s also helpful to keep reference assets with successful bakes as benchmarks. By documenting the settings that worked well on one model, you can apply them to others, cutting down on trial-and-error and ensuring consistent quality.
Previewing your bakes in both your baking tool and Unity is another critical step. Sometimes, a bake that looks perfect in one program might reveal flaws when imported into Unity's lighting system. Catching these issues early can save you hours of rework later on.
Using Sloyd for Better Asset Preparation

Advanced tools like Sloyd can simplify the asset preparation process and help avoid baking issues from the start. Sloyd’s procedural model generator ensures clean topology and optimized UV maps, which eliminates many common problems like seams, overlapping UVs, and artifacts. This reduces the need for manual UV unwrapping, making the entire process faster and more predictable.
"Sloyd's procedural 3D model generator ensures clean topology and automatically generated UV maps, which significantly reduces issues like seams, overlapping UVs, and baking artifacts. With real-time adjustments and guaranteed UV quality, the process becomes faster and more reliable, streamlining the workflow and maintaining consistency across large libraries, particularly for props and environment pieces."
For projects requiring multiple similar assets, Sloyd's template-based approach ensures uniformity across your entire asset library. Its real-time adjustment features let you tweak assets while maintaining their optimized structure, which means fewer baking errors and smoother integration into Unity.
When preparing assets for Unity, Sloyd’s game-ready outputs eliminate many manual cleanup steps that often introduce errors. Models come with proper scale, clean geometry, and well-organized UV maps, making them easy to integrate into Unity’s material system and baking workflows. This can save you time and help maintain consistent quality across your project.
sbb-itb-d35aaa6
How to Bake Textures in Blender and Export to Unity
Conclusion
To wrap things up, achieving effective Unity texture baking hinges on a well-structured workflow. This means starting with clean models, ensuring optimized UVs, using the right tools, and fine-tuning import settings. Paying attention to details like maintaining consistent texel density, adhering to standard naming conventions, and documenting your settings contributes to producing professional-grade assets.
Modern tools, such as Sloyd's 3D model generator, can simplify this process significantly. These procedural tools automate critical steps like generating clean topology and optimizing UV maps, which not only save time but also minimize errors during setup.
Efficient texture baking goes beyond just improving visual quality - it plays a big role in enhancing performance. By optimizing texture resolution, applying compression, and choosing efficient formats, you can cut down on memory usage and improve load times. Unity's import settings further allow developers to tweak texture compression and mipmapping, striking a balance between visuals and performance needs.
FAQs
What are the benefits of using external tools like Blender or Substance Painter for texture baking instead of Unity's built-in options?
When it comes to texture baking, external tools like Blender and Substance Painter bring a lot to the table compared to Unity's built-in options. Blender, for instance, comes packed with powerful features like advanced UV mapping, detailed texture painting, and procedural textures. These tools give you more control over your work and help produce higher-quality results.
On the other hand, Substance Painter stands out for its user-friendly interface, real-time feedback, and streamlined workflows. It’s a go-to choice for creating professional, game-ready textures efficiently and with precision.
Unity's native baking tools are handy for quick tasks within the engine, but external tools are purpose-built for texture creation. They offer the kind of flexibility, accuracy, and advanced capabilities that help you achieve both better performance and visually striking game assets.
How do I maintain consistent texel density across game assets to ensure uniform texture quality?
Maintaining Consistent Texel Density
Keeping texel density uniform is crucial for ensuring your game assets have consistent texture quality. Start by setting a target texel density that aligns with the level of detail your project requires. Once you have this benchmark, scale the UV islands of your models to match it. This way, your textures will maintain a consistent appearance, avoiding any jarring resolution differences.
To simplify this process, take advantage of tools like a Texel Density Checker available in most 3D modeling software. These tools allow you to measure and fine-tune texel density with precision, saving time and effort. By sticking to these practices, you can create assets that feel cohesive and polished within your game world.
How can I fix common texture baking problems like visible seams or black spots in Unity?
Fixing Common Texture Baking Issues in Unity
Dealing with texture baking problems like visible seams or black spots in Unity? Here's how to tackle them effectively:
- Clean UV Mapping: Make sure your UV mapping is tidy, with no overlapping UV islands. Overlaps can cause seams to show up in your textures, disrupting the look of your asset.
- Adjust Bake Resolution and Padding: Use a high enough bake resolution and tweak settings like margin or padding to prevent texture bleeding or unsightly gaps around edges.
If black spots are your issue, the problem might lie with your normals. Double-check that they're correctly oriented. If they’re not, recalculating normals should fix the problem. These steps will help you achieve smooth, polished baked textures that enhance both the appearance and performance of your game assets.