¿Cómo Diseñar Tus Propios Juguetes Imprimibles en 3D?
Aprende a diseñar juguetes personalizados imprimibles en 3D desde cero. Guía paso a paso que cubre el modelado, la preparación de archivos y consejos de impresión para principiantes.
Hay una magia especial en traer un juguete de tu imaginación al mundo físico. Con el auge de las impresoras 3D asequibles, diseñar e imprimir tus propios juguetes personalizados ya no es un sueño futurista, es un proyecto divertido y gratificante para creadores de todos los niveles. Ya seas un padre que quiere crear un regalo único, un educador que busca un proyecto para el aula o un aficionado ansioso por crear tus propios coleccionables, esta guía te acompañará a través del proceso.
Diseñando Juguetes con Seguridad y Diversión en Mente
Antes de sumergirte en cualquier software, es importante pensar en el usuario final, especialmente si es un niño. Un juguete imprimible en 3D exitoso no solo es genial a la vista; también está diseñado para ser duradero y seguro.
Aquí hay algunas cosas a tener en cuenta:
- Mantenlo simple y resistente. Las piezas delgadas y frágiles pueden romperse fácilmente durante el juego. Opta por diseños robustos y sólidos que puedan soportar caídas o un manejo brusco.
- Suaviza los bordes. Evita puntos o esquinas afiladas en tu diseño. Las superficies redondeadas y lisas son mucho más seguras y agradables de sostener.
- Diseña para la imprimibilidad. Considera las limitaciones de la impresión 3D. Los voladizos grandes o los detalles increíblemente intrincados pueden ser difíciles de imprimir sin soportes extensos, que pueden ser difíciles de eliminar limpiamente.
Encuentra Tu Flujo de Trabajo de Creación Perfecto
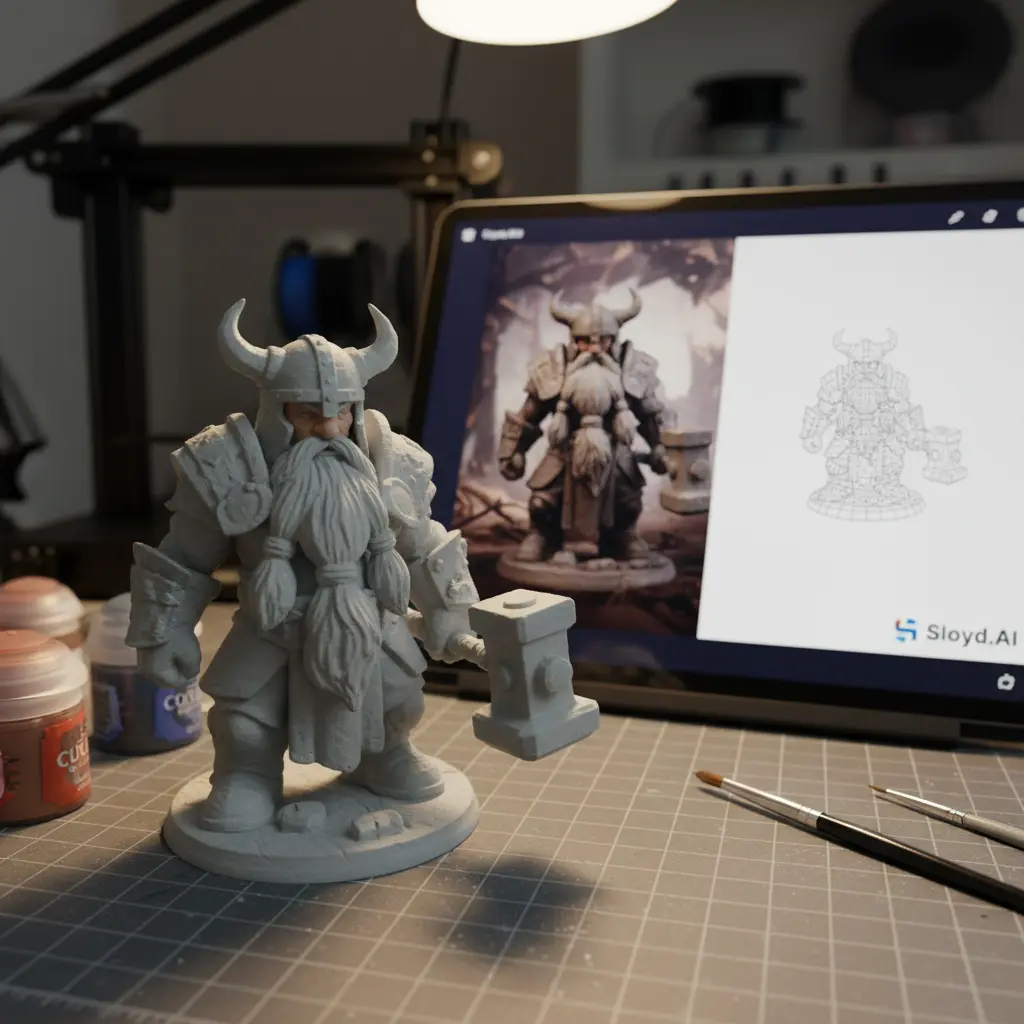
El primer paso en cualquier diseño de juguete 3D es crear el modelo en sí. En el pasado, esto requería software complejo y una curva de aprendizaje pronunciada. Hoy en día, herramientas como Sloyd.ai ofrecen múltiples caminos intuitivos para que comiences en minutos.
Para Precisión y Control: El Editor Paramétrico
Si tienes una idea específica en mente, como un coche de juguete con ruedas que necesitan tener un tamaño determinado, un editor paramétrico es tu mejor amigo. En lugar de esculpir desde cero, comienzas con una plantilla (un generador) y ajustas sus propiedades con simples deslizadores y entradas. ¿Quieres una torre de castillo más alta? Arrastra el deslizador de altura. ¿Necesitas una hoja de espada más gruesa? Aumenta el valor de grosor.
Este método te da un control completo, asegurando que tu diseño final sea exactamente como lo imaginaste. Es perfecto para crear juguetes con piezas entrelazadas o para hacer variaciones rápidas de una sola idea.
Para Creatividad Instantánea: Generación por IA
A veces las mejores ideas surgen de la experimentación. Aquí es donde las herramientas de IA brillan.
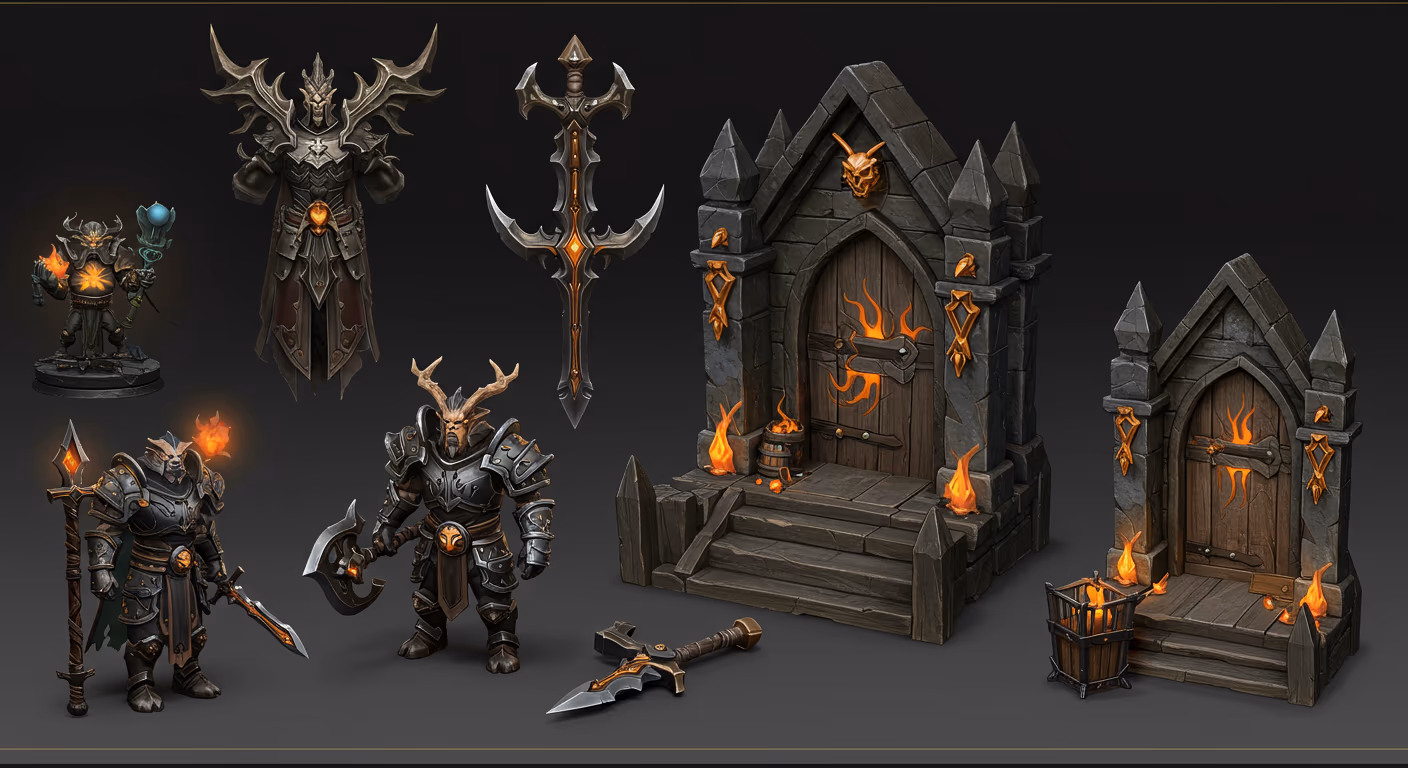
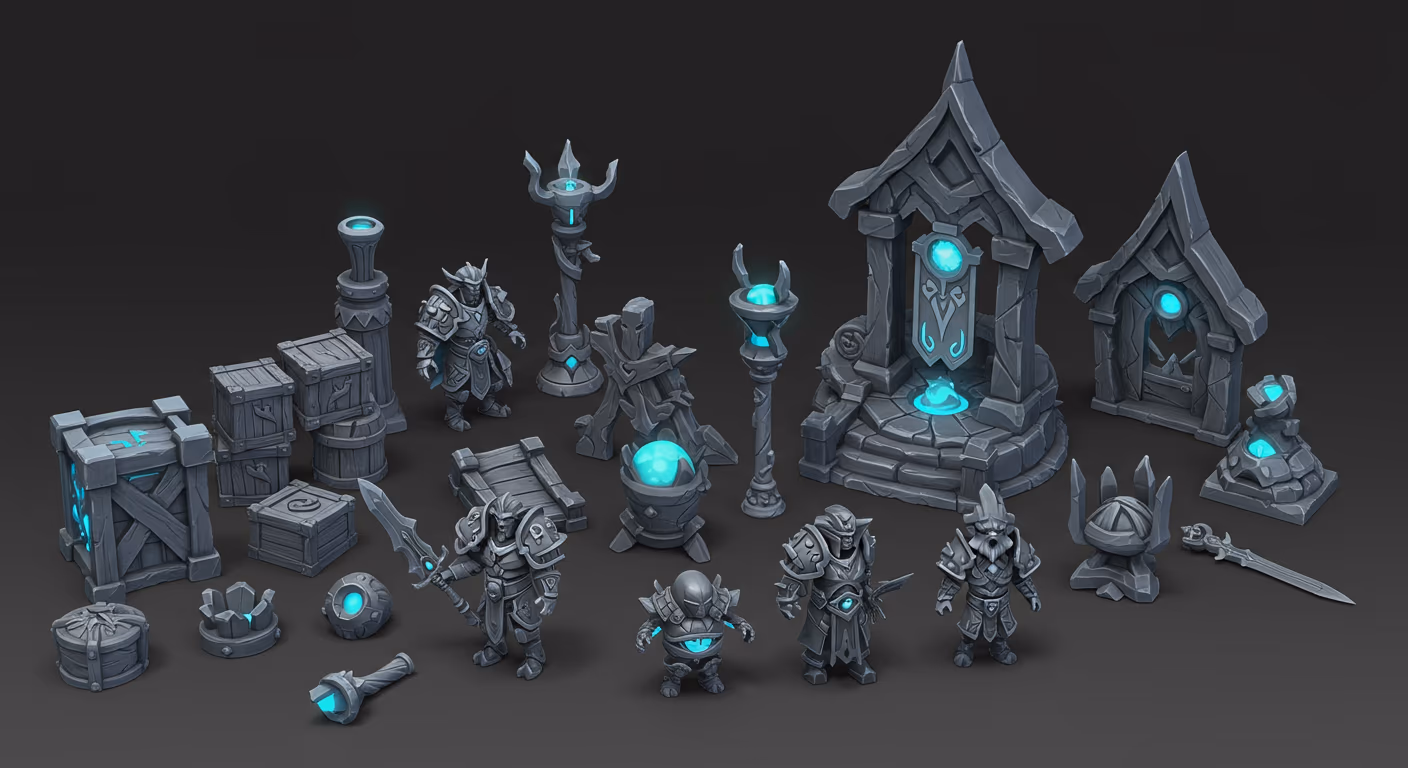
- Text-to-3D: Simplemente describe el juguete que quieres crear, como "un dragón lindo y regordete con alas pequeñas", y deja que la IA genere un modelo para ti. Puedes probar diferentes indicaciones para explorar una amplia gama de posibilidades creativas en segundos.
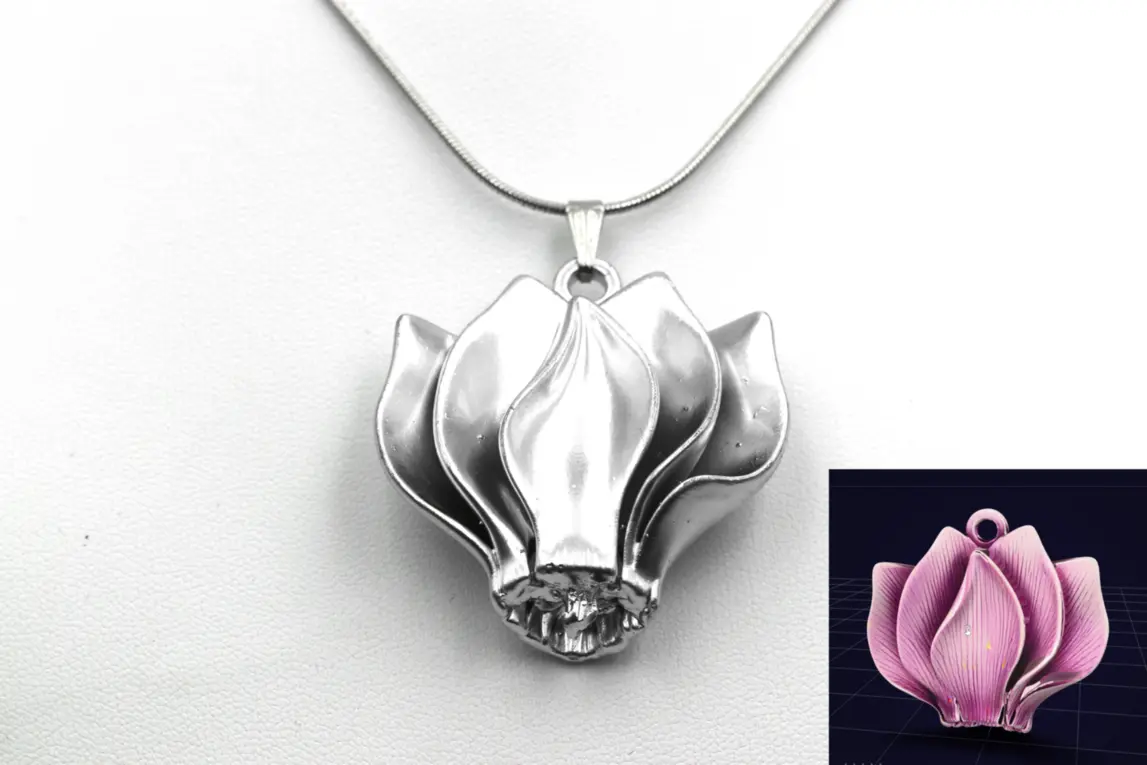
- Image-to-3D: ¿Tienes un dibujo de un niño que quieres darle vida? ¿O encontraste una imagen de concepto inspiradora en línea? Súbela, y la IA de Sloyd interpretará la imagen 2D y generará un modelo 3D único a partir de ella.
Sloyd incluso ofrece preajustes de IA especializados para optimizar tu modelo para su uso final. El preajuste de "3D Printing" crea una malla sólida y estanca sin texturas, mientras que el preajuste de "Vinyl Figure" es perfecto para crear personajes estilo coleccionable.
| Característica | Editor Paramétrico | Generación por IA |
|---|---|---|
| Control | Alto (ajustes precisos) | Bajo (creación exploratoria) |
| Caso de Uso | Diseños específicos, variaciones | Lluvia de ideas, exploración de conceptos |
| Nivel de Habilidad | Intermedio | Amigable para principiantes |
| Punto de Partida | Plantilla/Generador | Mensaje de texto o Imagen |
Preparando Tu Modelo para la Impresora
Una vez que estés satisfecho con tu diseño digital, el paso final es prepararlo para la impresión. El objetivo es crear un archivo limpio y sin errores que el software de laminado de tu impresora 3D pueda entender. Esto significa que el modelo debe ser "estanco" —un objeto único y sólido sin agujeros ni espacios en su superficie.
| Consideración | Descripción |
|---|---|
| Simplicidad | Los diseños robustos resisten la rotura. |
| Seguridad | Los bordes redondeados previenen lesiones. |
| Imprimibilidad | Evita voladizos/detalles intrincados. |
Tradicionalmente, esto requería un proceso de limpieza manual en otro software. Sin embargo, al usar una herramienta construida para este propósito, gran parte del trabajo se hace por ti. Los modelos generados en Sloyd, especialmente al usar los preajustes de impresión 3D, ya están optimizados para estar listos para imprimir.
Finalmente, necesitarás exportar tu modelo. El formato de archivo más común para la impresión 3D es .STL, que es totalmente compatible con todas las herramientas de creación de Sloyd. Una vez que tengas tu archivo STL, puedes importarlo a tu software de laminado preferido, como UltiMaker Cura o PrusaSlicer, y enviarlo a tu impresora.
¿Listo para empezar a diseñar? Sumérgete y ve lo que puedes hacer con Text-to-3D de Sloyd o dale vida a un boceto con Image-to-3D hoy mismo